Achieving Stellar SMM Success with Ripl Insights
Achieving Stellar SMM Success with Ripl Insights
If you’re a social media enthusiast, you’ll know that images and videos have a much higher potential for engagement than text-only posts. However, you might think that creating these posts requires extensive technical design skills. With apps like Ripl, though, you can create spectacular graphics for your feed—without the hassle of attending design school.
Today, we’ll show you how to use Ripl to create social media posts that stand out from the rest of the crowd.
What Is Ripl?
Ripl is an app designed to make engaging visuals for social media. The key feature of Ripl is its massive library of templates, stock images, and videos. It’s available now for Android devices, iOS devices, and as a web app.
One of Ripl’s strengths is its intuitive editor that enables the customization of templates through colors, fonts, and animations. And the app’s drag-and-drop image editing feature makes graphic design easier.
Ripl costs $14.99/month, but you can save 33% if you opt for an annual subscription. Signing up to the platform requires a credit card, but you can bypass this requirement if you prefer. Unfortunately, that means you won’t be able to download anything you create.
Download : Ripl for Android |iOS (Subscription required, free trial available)

Getting Started With Ripl
Signing up for the Ripl app on a desktop browser is easy. Here are the steps:
- Click on the Ripl sign-up link to create an account.
- On the next screen, choose a template style you prefer, and clickNext .
- Select one of the plans on your screen, and click onFree Trial .
- Fill in your credit card information.
- To avoid inputting a credit card, click theX in the top-right corner.
- While Ripl will restrict you from downloading customized posts without a card, you can save some static images.
- The Ripl Home page will load for you to explore!
Related:Social Media Platforms That Pay You to Create Content
Setting Up Your Personal Brand

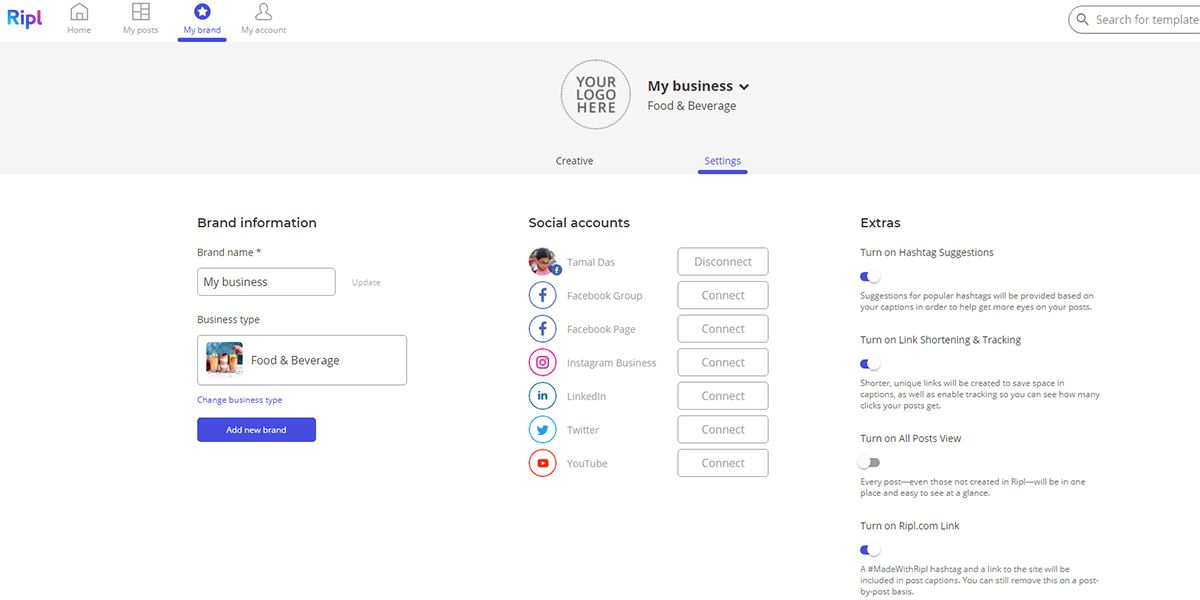
Ripl allows you to customize your profile by setting up a personal brand. By doing so, you can easily access your preferred logo, color palettes, and fonts. Follow these steps to get set up:
- At the top of the screen, click onMy brand .
- Under theCreative tab , choose your logo, brand colors, and preferred fonts.
- Now, click theSettings tab and link your social media accounts under theSocial accounts section. That’s it! Your brand is ready to use.
Related:How to Brand Your Personal Social Media Accounts
Creating Social Media Content From Templates
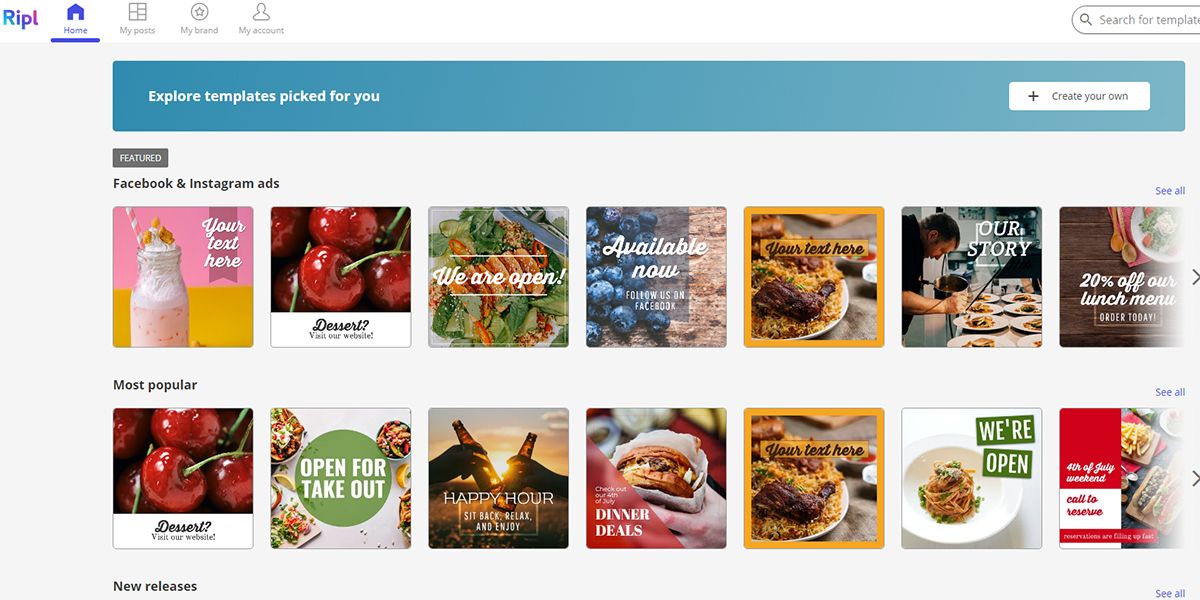
Crafting impressive visuals with Ripl is easy using the ready-made templates. You can access a wide selection via your Ripl home page.
Click theSee all link at the right of each section to get the complete list of template options for that category. And scroll down for more template categories.
Creating a Collage With Ripl
To create a remarkable family photo collage for your Facebook or Instagram feed, try these steps:
- From yourRipl home page, click on theSearch box—type incollages and pressEnter .
- Click on any collage you find, and it’ll open in theRipl editor .
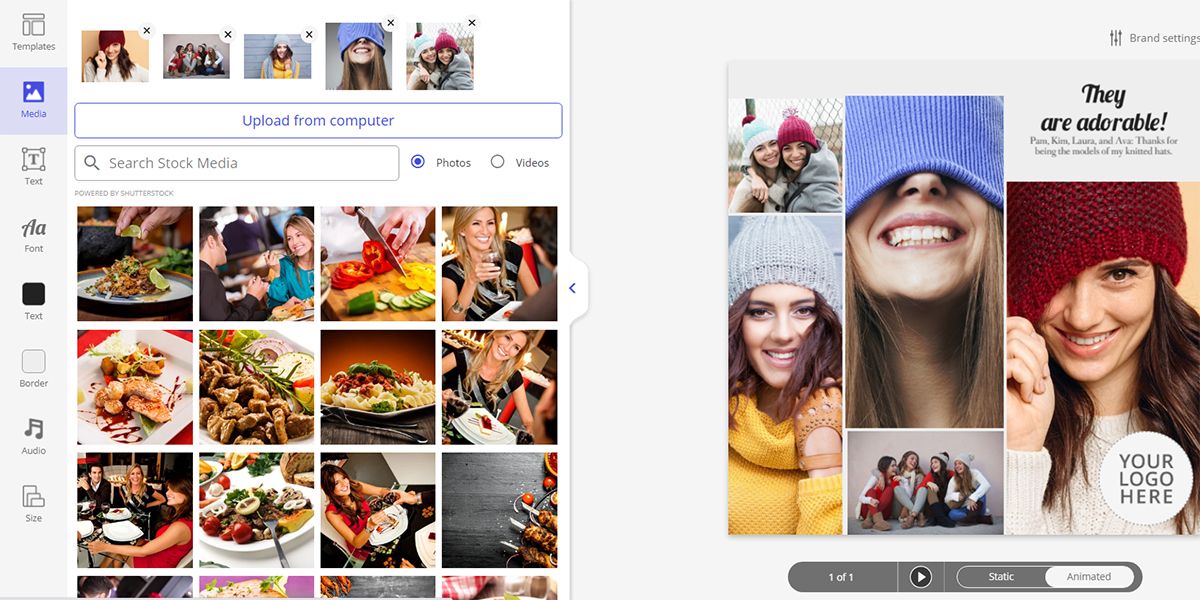
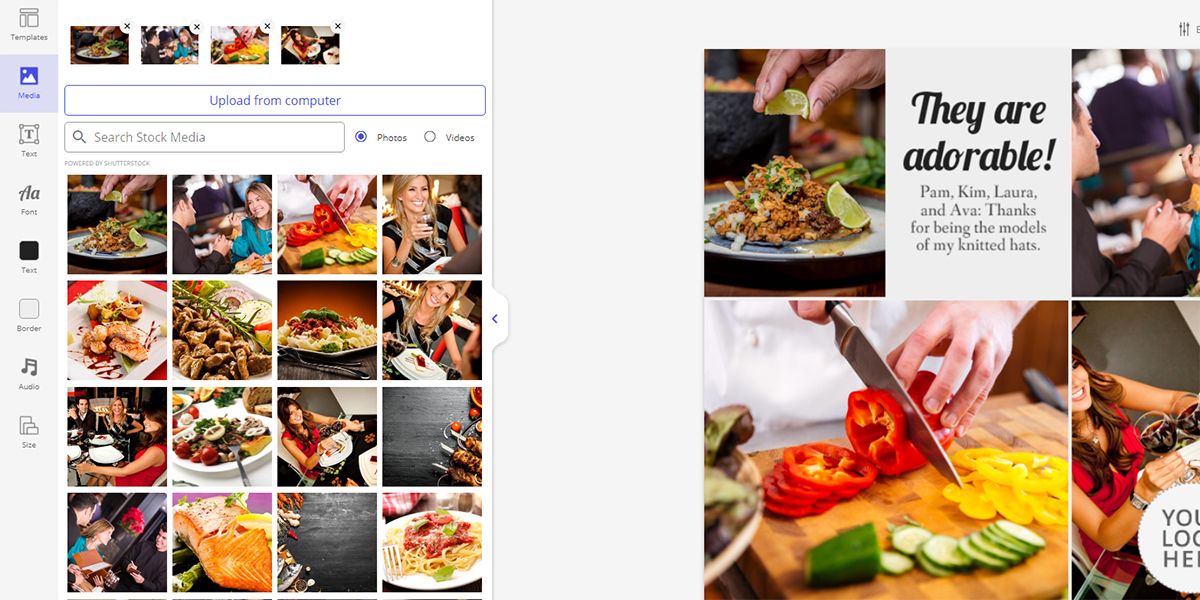
- On the left panel, you’ll find multiple vertical tabs named:Templates ,Media ,Text , etc.
- Ripl defaults to theMedia tab . If you’d like to delete the stock photos from the collage, click theX above each image.
- SelectUpload from computer to add your images to the template. Keep the number of images the same as the original template.
6. Click on theText tab to edit thePrimary andSecondary text of the collage template.
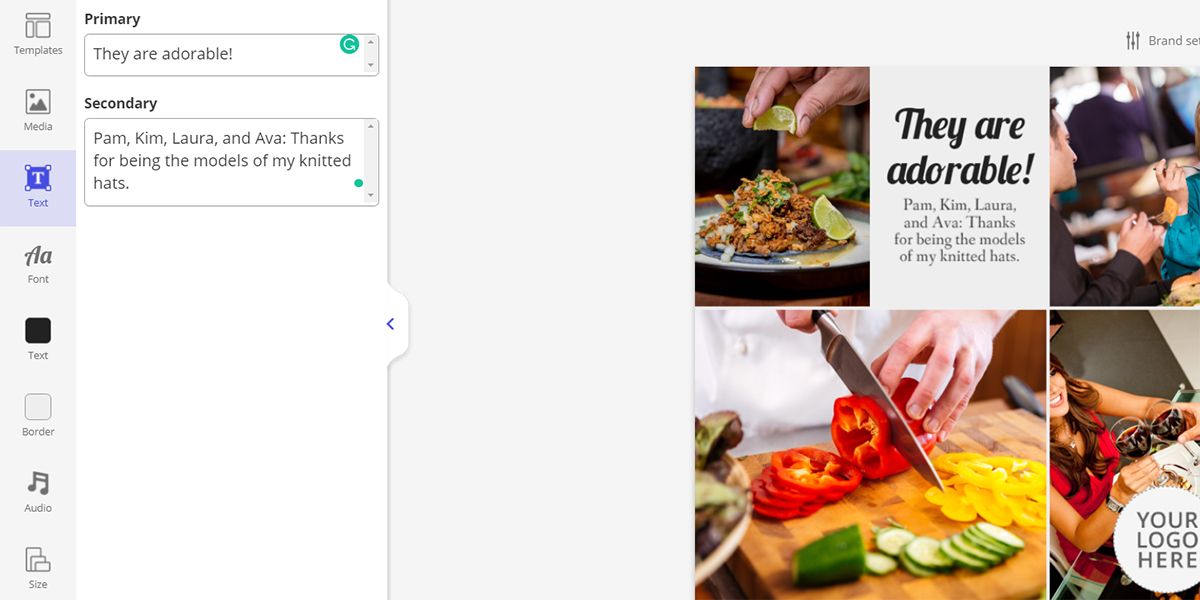
7. Double-click onYour Logo Here to upload a personal logo or hide the element.
8. At the bottom of your new creation, chooseStatic if you’d like to use a fixed image orAnimated if you’re using GIFs and videos. Note: this step only works if you added credit card information at signup.
9. Click theNext button to save, share, or schedule social media posts using the collage you just made.
Related:Best Video Editors for Creating Social Media Posts
Creating a Ripl Slideshow
Slideshow posts are perfect when you want to tell a story or showcase several images. Ripl enables you to convert each photo into a single slide. You can also add unique text to customize your slideshow deck.
To create a slideshow:
- On theRipl dashboard, click on theCreate your own button.
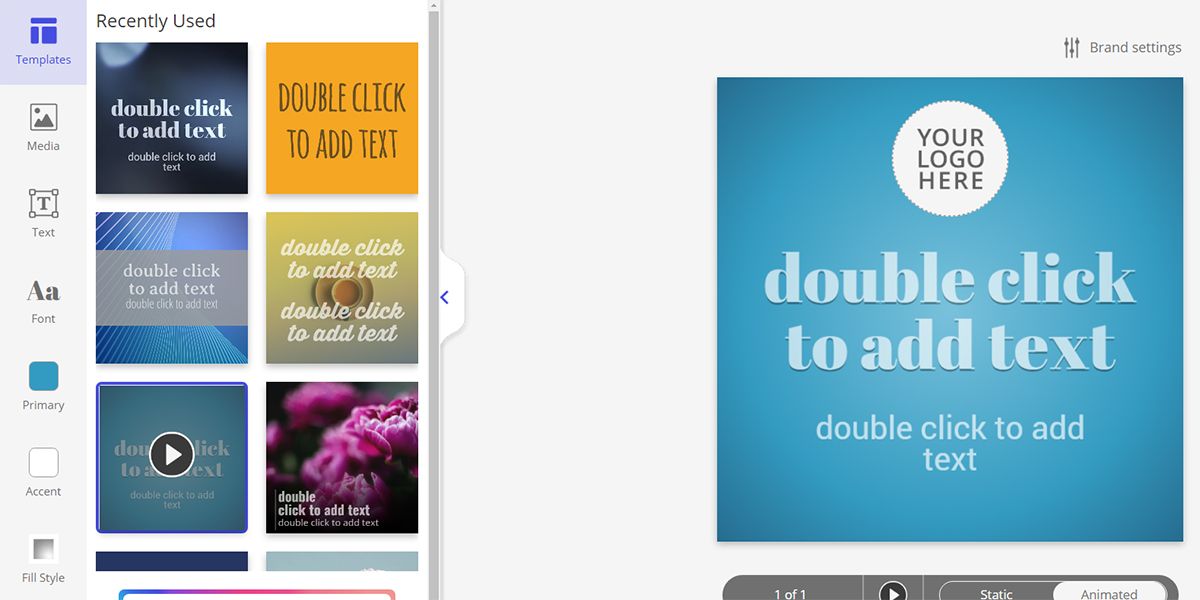
- TheRipl editor will open with the most recent template that you used.
- Click on any of the templates you’d like, or choose the one shown below.
- Select theSize tab from the left-side panel and choose the post size that you need.

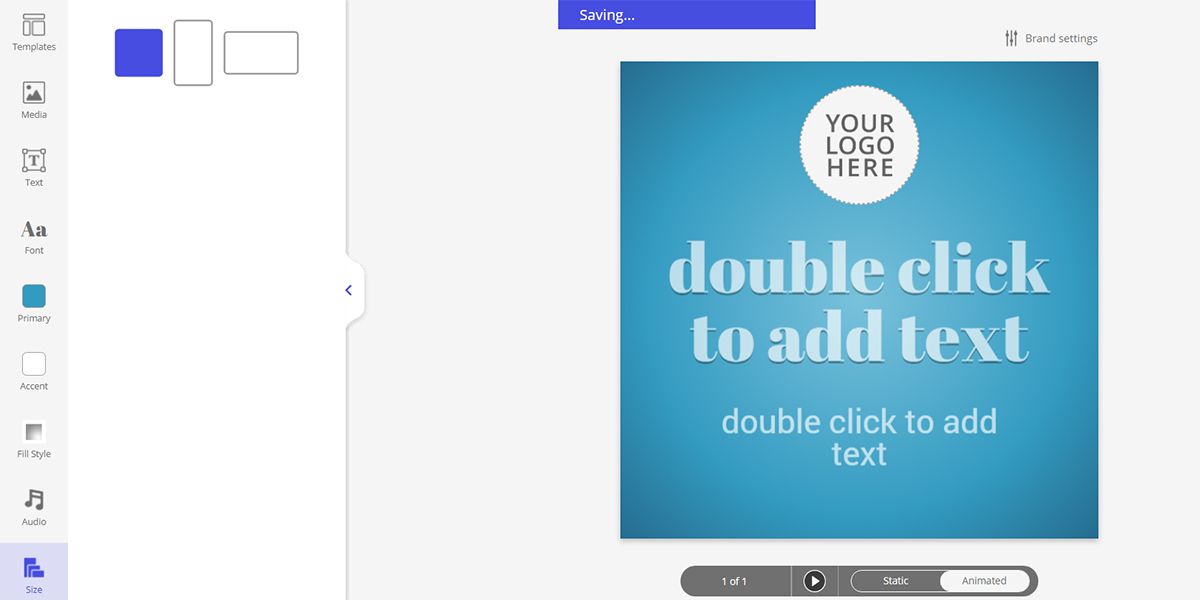
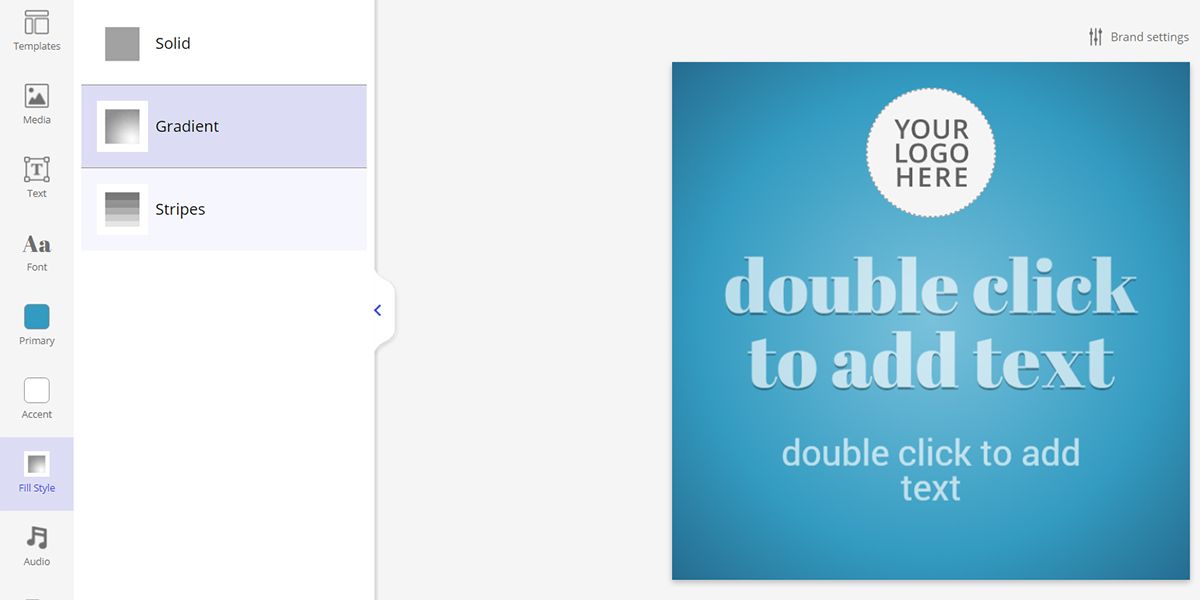
5. Click on theFill Style tab to choose betweenSolid ,Gradient , orStripes .
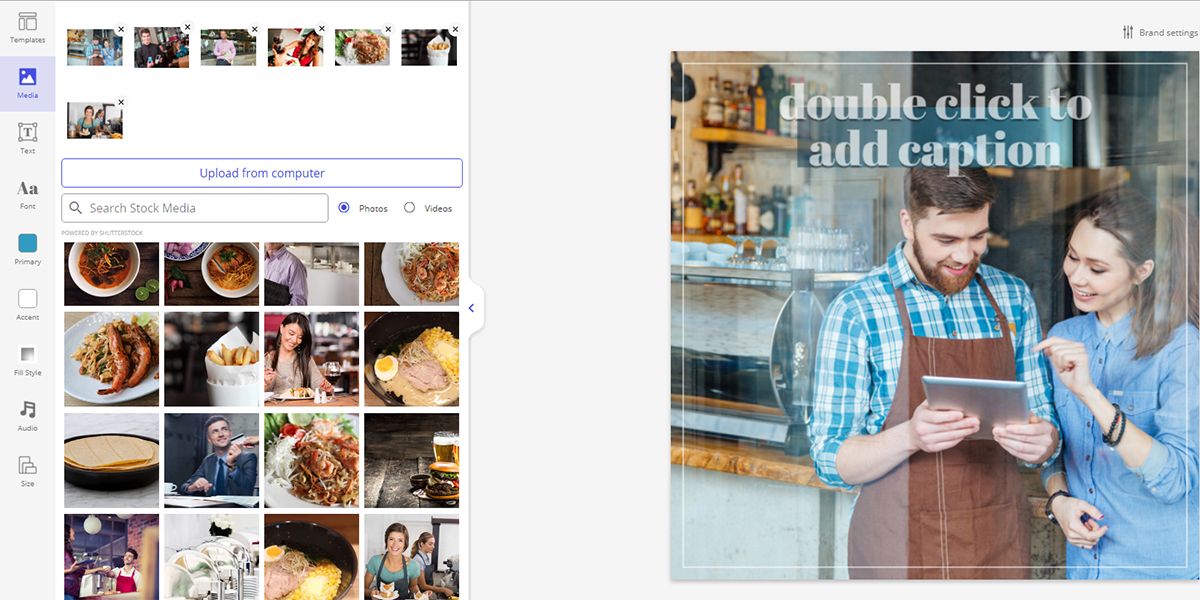
6. Now, click theMedia tab . You may either upload photos from your computer or use stock photos from the Ripl content library.
7. Once you’ve selected your photos, click on thePlay button beneath the image to preview the slideshow. Ripl employs a unique algorithm to determine the slideshow’s speed.
8. When you’re ready to share, save, or schedule your slideshow, click on theNext button in the top-right corner.
Here are some tips to control the pace of slideshow elements:
- Use fewer images to increase the display time of each image.
- Don’t add lengthy text captions if you want to increase the transition speed.
Creating a Social Media Poll
Whenever you want your audience’s opinion on something, create a poll to get suggestions from your friends and followers.
With Ripl, making social media polls is a piece of cake. Or pie. We’ll let you decide. Here’s how to create a Ripl poll:
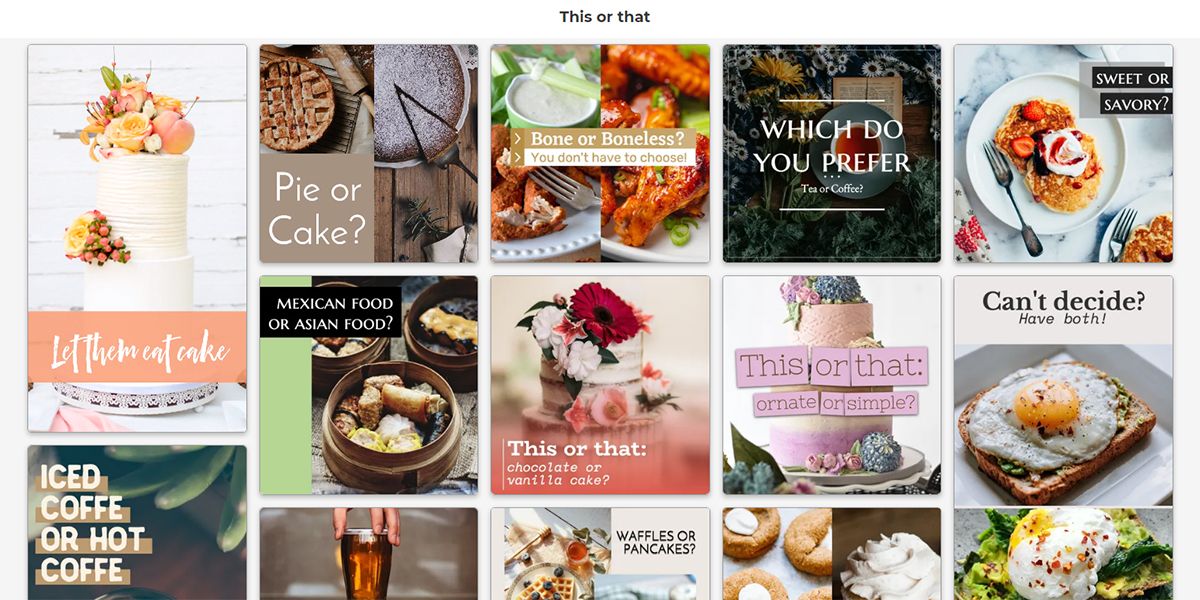
- Open yourRipl dashboard and scroll down to theThis or that template row.
- Click on theSee all link to expand the list and choose a template that you think fits your poll topic. Click it.
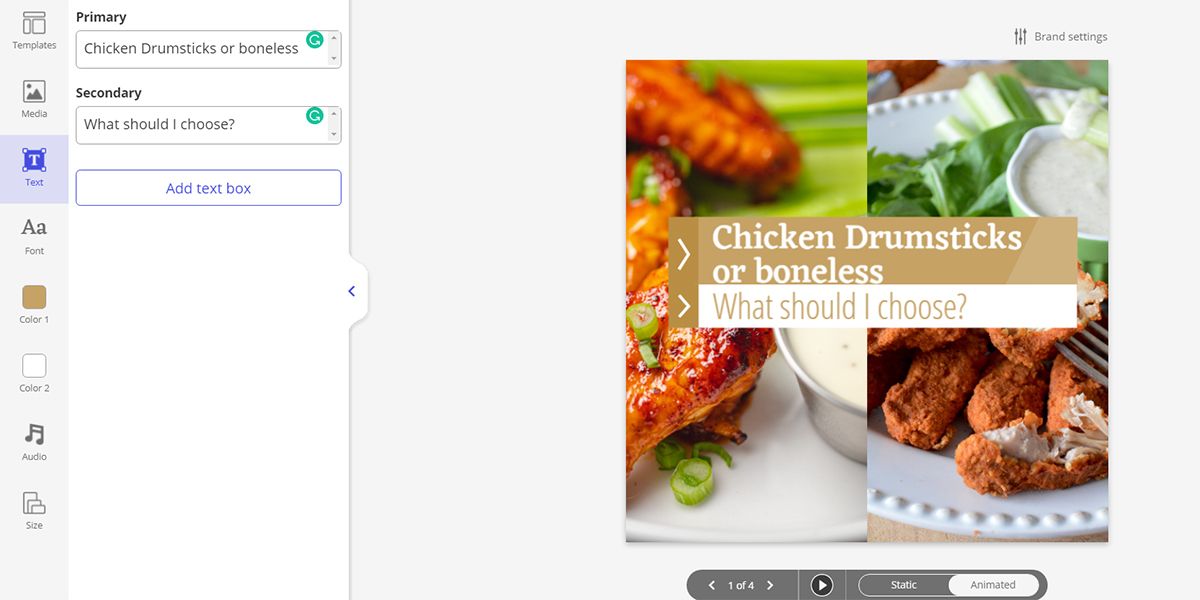
- The template will open in theRipl editor . You can customize the details of your poll by using the vertical buttons on the left side of the screen.
- If you want to create a more customized poll, you can upload pictures from your device.
- To do so, gather some images you’d like to use for your poll.
- Transfer the images to your computer, and then click on theUpload from computer button in theRipl editor to upload.
 TubeDigger - online video downloader from mostly any site
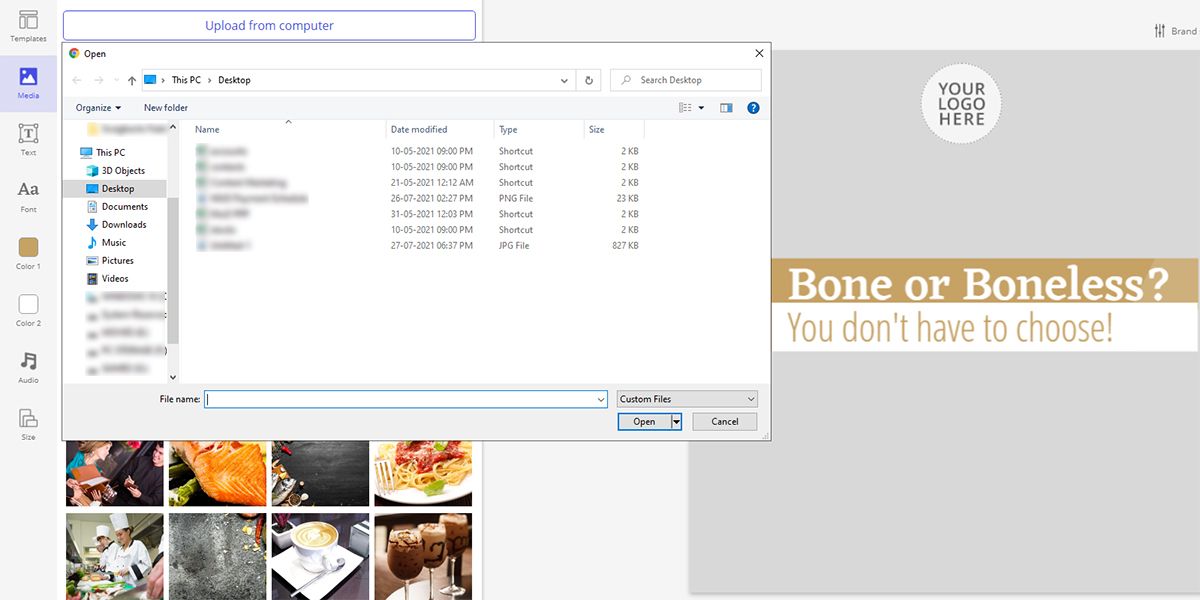
7. Select two images. They’ll appear above theUpload from computer button.
8. Drag and reposition the images if you’d like.
9. Click on theText tab to enter custom messages in thePrimary andSecondary text fields.
10. To save the image on your computer, right-click on the image and selectSave image as .
11. Now, you can use the saved image for Facebook, Instagram, or any other social media platform.
Effortlessly Create Eye-Catching Social Media Content
Now that you’ve learned the basics of Ripl feel free to let your creativity run wild. Once you’re comfortable, you’ll be creating engaging posts with only a few clicks.
Designing exceptional graphics for social media doesn’t have to be complicated. With sites like Ripl, you can focus less on the mechanics of design software and more on content that makes an impact on your audience.
- Title: Achieving Stellar SMM Success with Ripl Insights
- Author: Michael
- Created at : 2024-07-29 07:34:14
- Updated at : 2024-07-30 07:34:14
- Link: https://facebook.techidaily.com/achieving-stellar-smm-success-with-ripl-insights/
- License: This work is licensed under CC BY-NC-SA 4.0.