Crafting a Cloak of Secrecy for Your Photos
Crafting a Cloak of Secrecy for Your Photos
There are many reasons you should make your photos private on Facebook. Aside from privacy concerns, the site is also teeming with unscrupulous scammers who want to take advantage of other people on the platform.
To deal with this issue, Facebook has customizable settings that allow you to restrict access to your photos or hide your photos from others. You can set some to be viewable only by your friends or make them completely private and only viewable to you.
Here’s all you need to know about how to make photos private on Facebook.
How to Make Your Facebook Photos Private
To make photos private on Facebook, you can change the privacy settings of entire albums or individual photos.
How to Make Albums Private on Facebook for Android and iOS
You can change the privacy of an entire album on Facebook to save time, rather than needing to make photos private one by one.
However, you should remember that you can only edit the audience of your photos—not pictures that your friends uploaded. For the latter, you can untag yourself from a Facebook photo or ask your friend to delete it.
To make a photo album private on Facebook’s Android or iOS app, follow these steps:
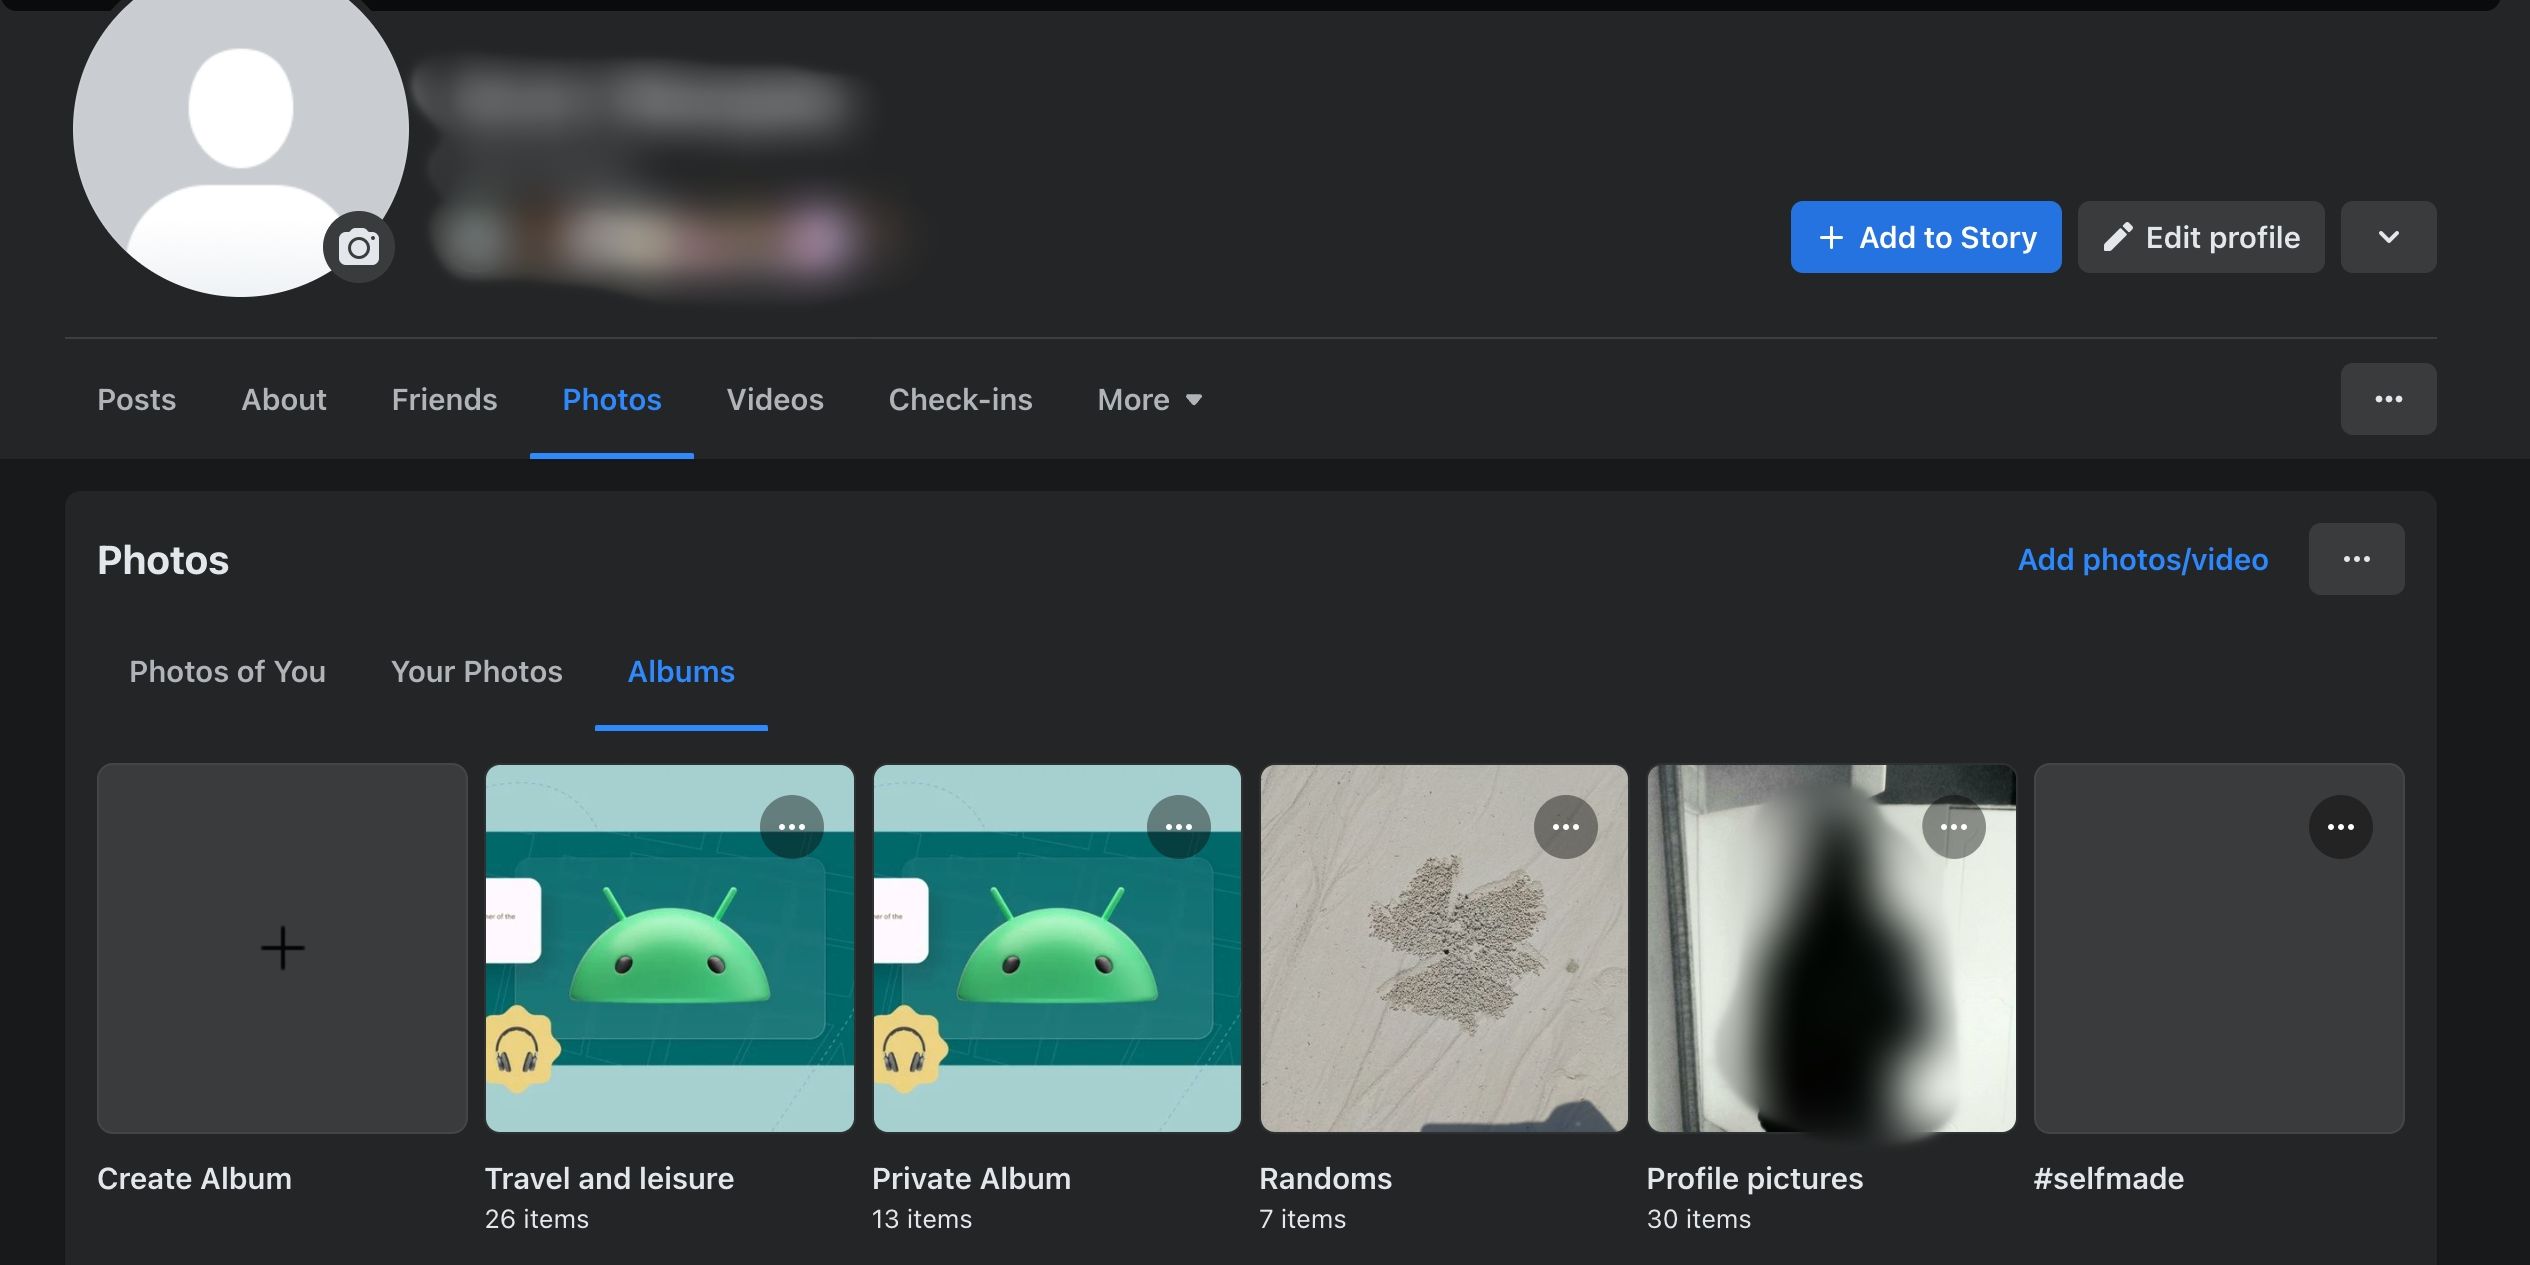
- From your profile, scroll down until you see thePhotos button. Tap it to view your Facebook photos.
- Then, find the photos you want to make private underAlbums .
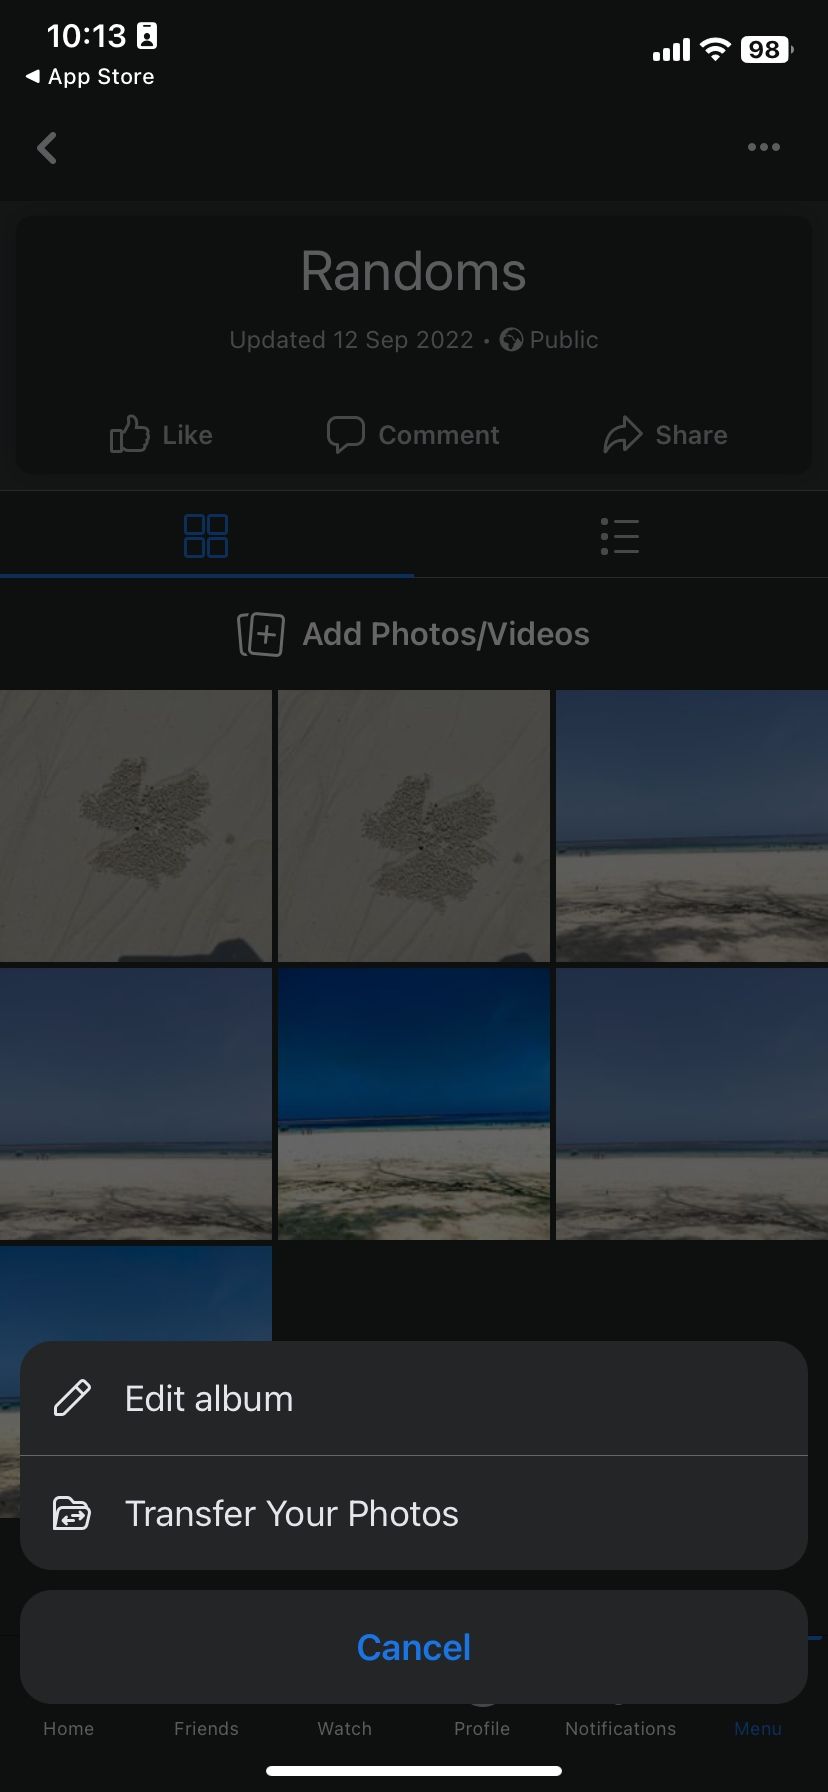
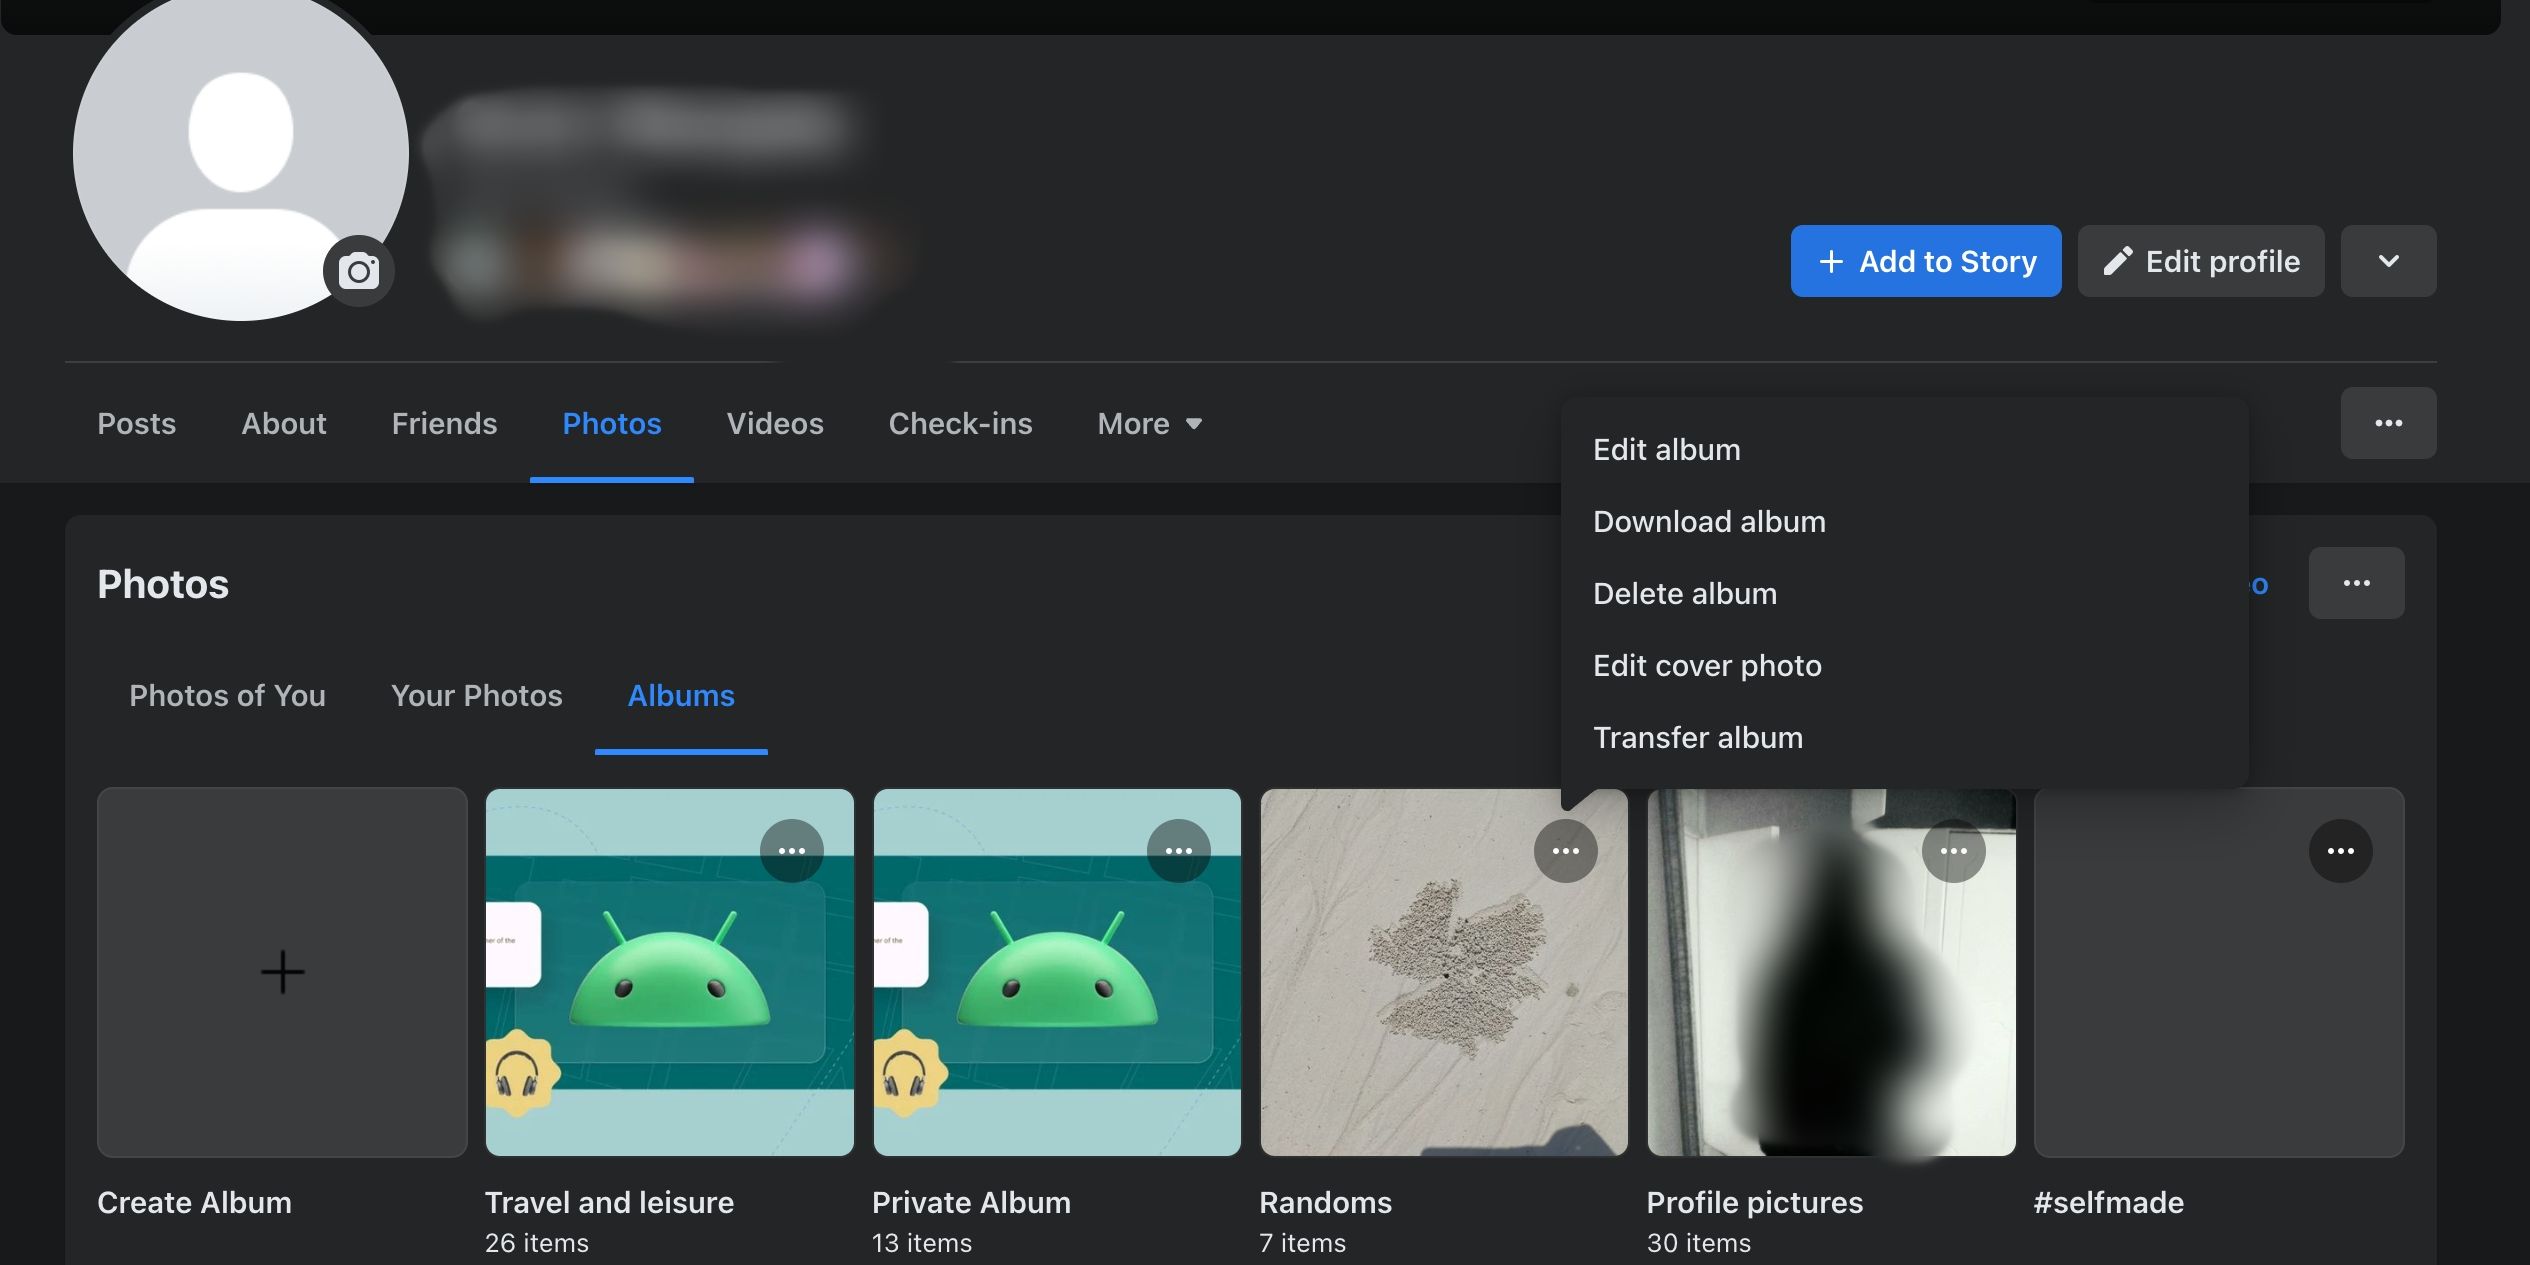
- Go to the relevant album, then click thethree dots in the top right corner.
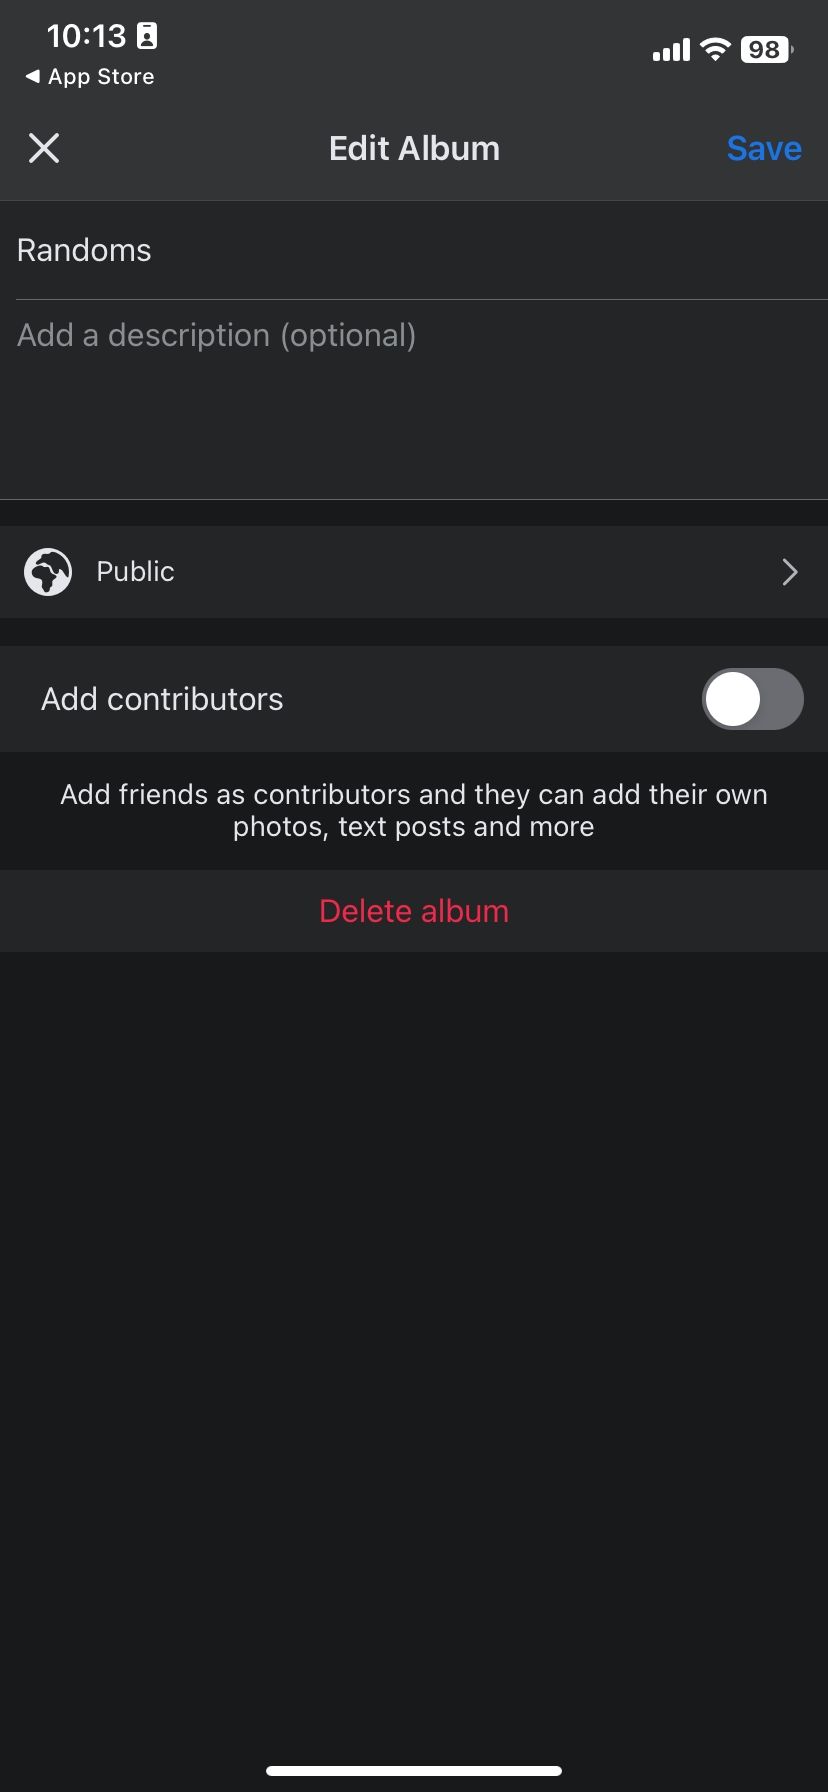
- SelectEdit orEdit album . You’ll see a section that saysFriends orPublic. Click that to change the audience of your album.
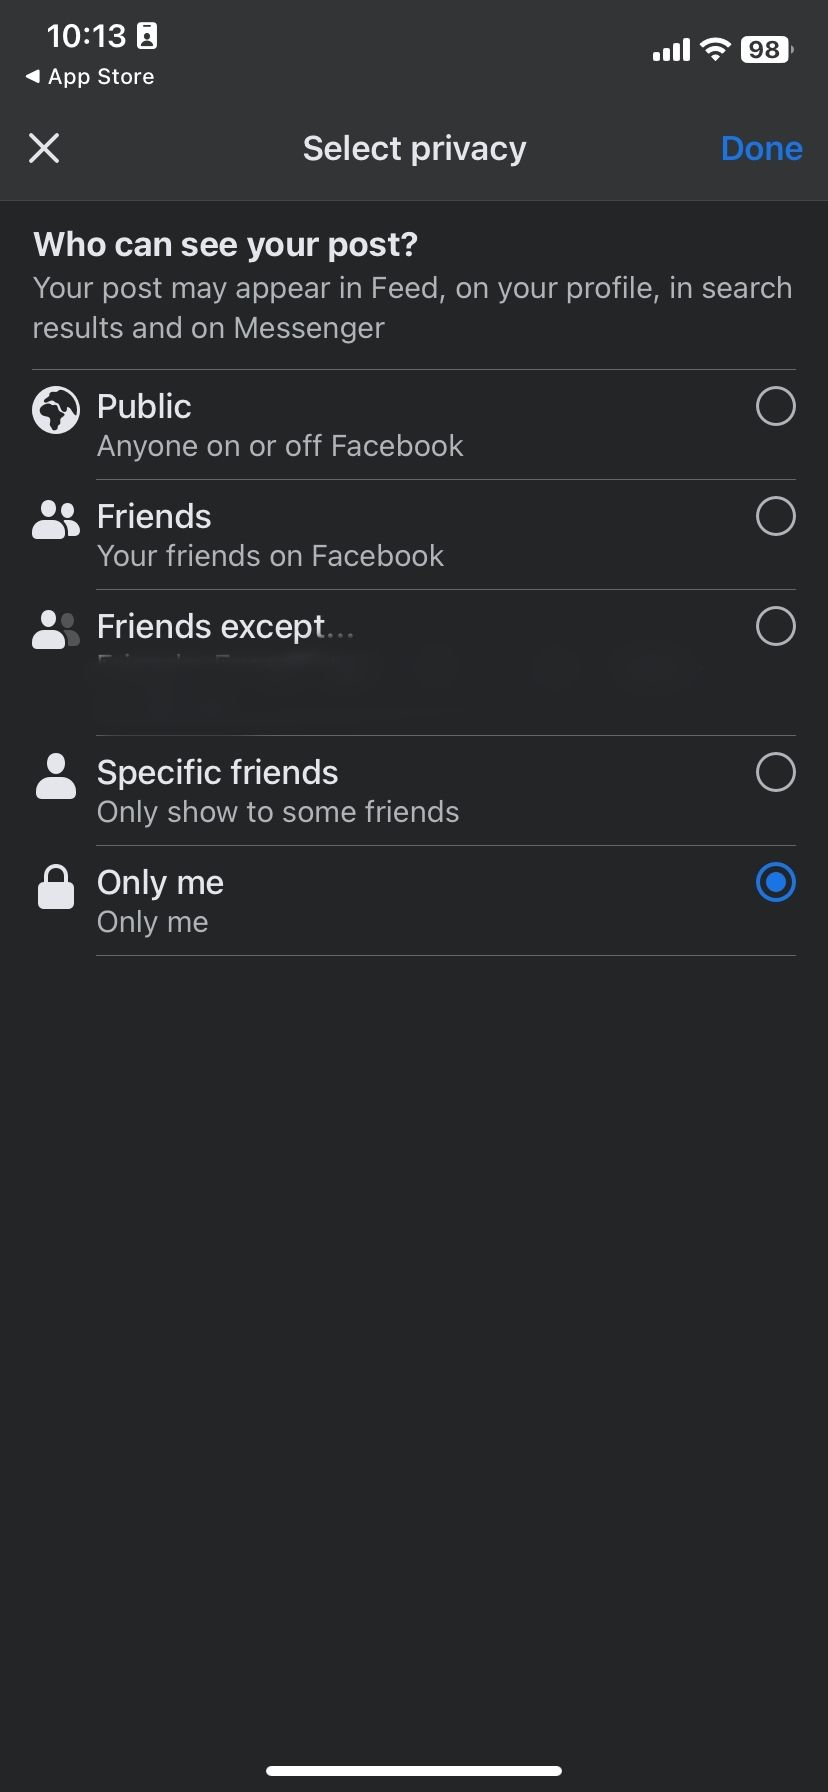
- From here, you can control who can view the album. SelectOnly Me if you do not want anyone else but you to see this album and make it private.
- On the Facebook Android app, tap theback arrow and clickDone . If you’re on iOS, tapDone in the top right and then selectSave . This will hide all photos in your Facebook album.
Close
How to Make Albums Private on Facebook on the Web
To change the privacy settings of your albums on Facebook.com, follow these steps:
- Go to your Facebook profile and selectPhotos below your profile.
- This will take you to thePhotos section withPhotos of You selected. ClickAlbums .
- Next, click thethree dots in the top right of the album you wish to make private and selectEdit album from the pop-up.
- On the next page, click the button with a privacy option (e.g. Friends, Public, Friends except and others) in the top left.
- Finally, selectOnly me from the pop-up window and clickDone > Save to save your changes.
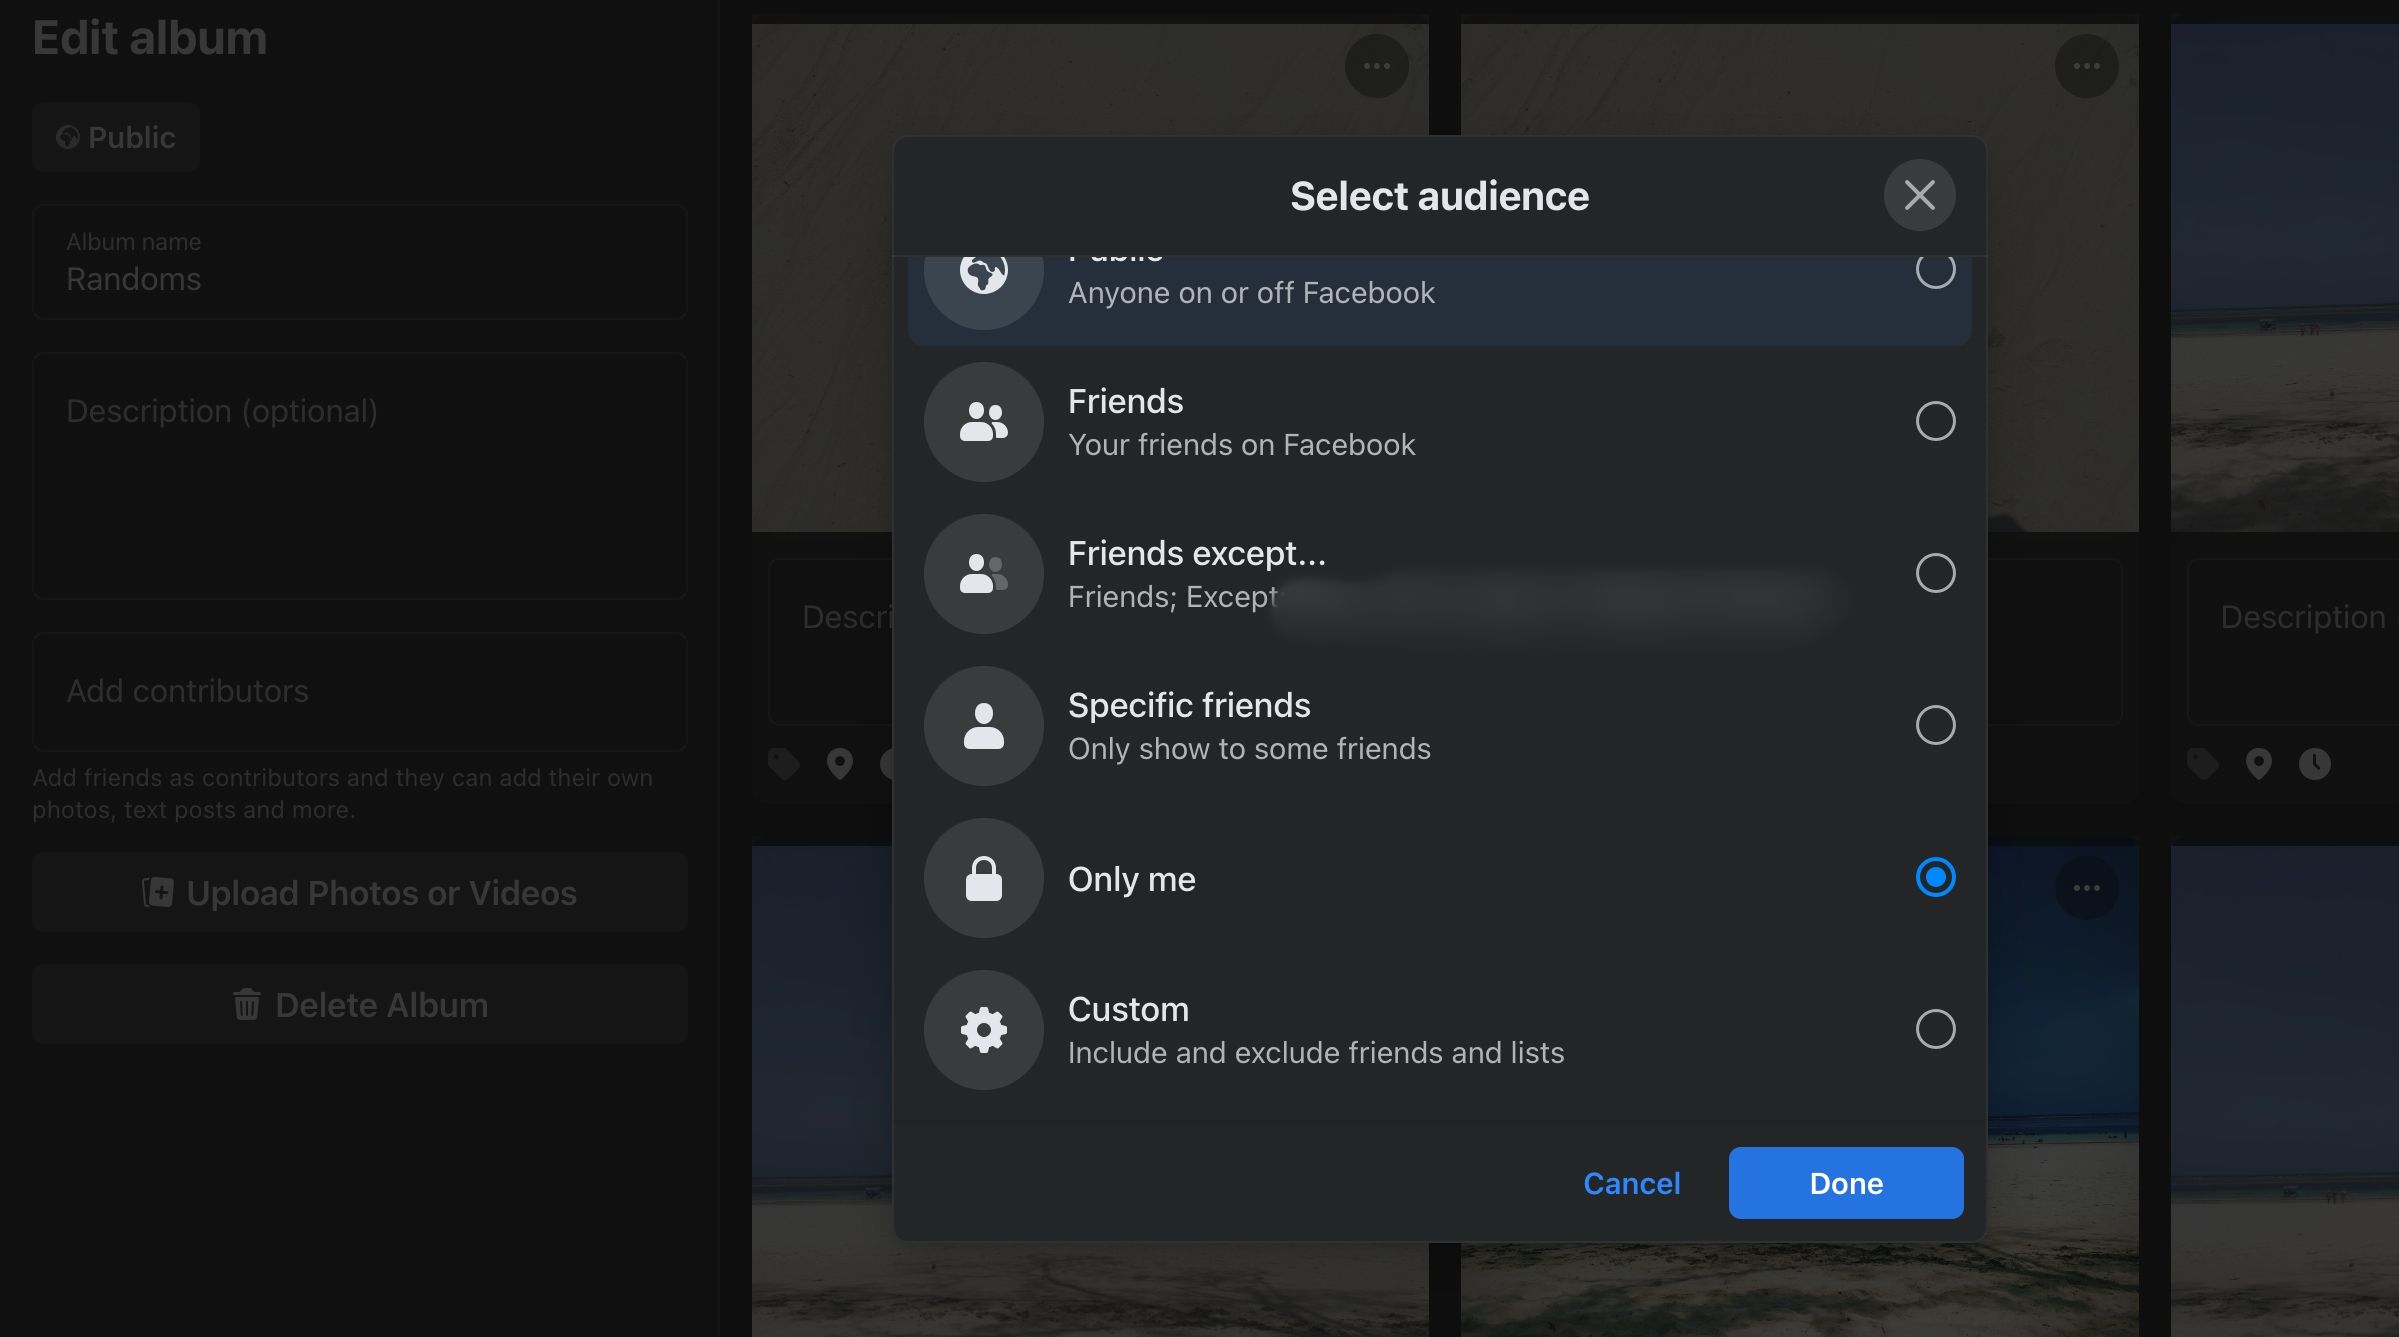
If you don’t want to make the photos completely private and still want to share them, just with a more limited audience, you can choose the audience options forFriends ,Friends except , orSpecific friends .
If you want to show the album only to a group of friends on a certain list, selectCustom . This allows you to have fine-grained control over who can see your Facebook photos without totally hiding them from everyone. However, this option is only available on Facebook’s website.
How to Make Individual Facebook Photos Private on Android and iOS
You can also change the privacy of individual photos on Facebook to make them private.
It’s important to remember that you can only change the privacy settings of certain photos inside some groups or albums. These include:
- Photos of you
- Uploads
- Profile photos
- Cover photos
- Timeline photos
- Mobile photos
Photos uploaded in batches along with others and as part of an album will follow the settings of the album.
To make a single photo on Facebook private, follow these steps:
- Go to your profile, scroll down till you see thePhotos button, and tap it to view your Facebook photos.
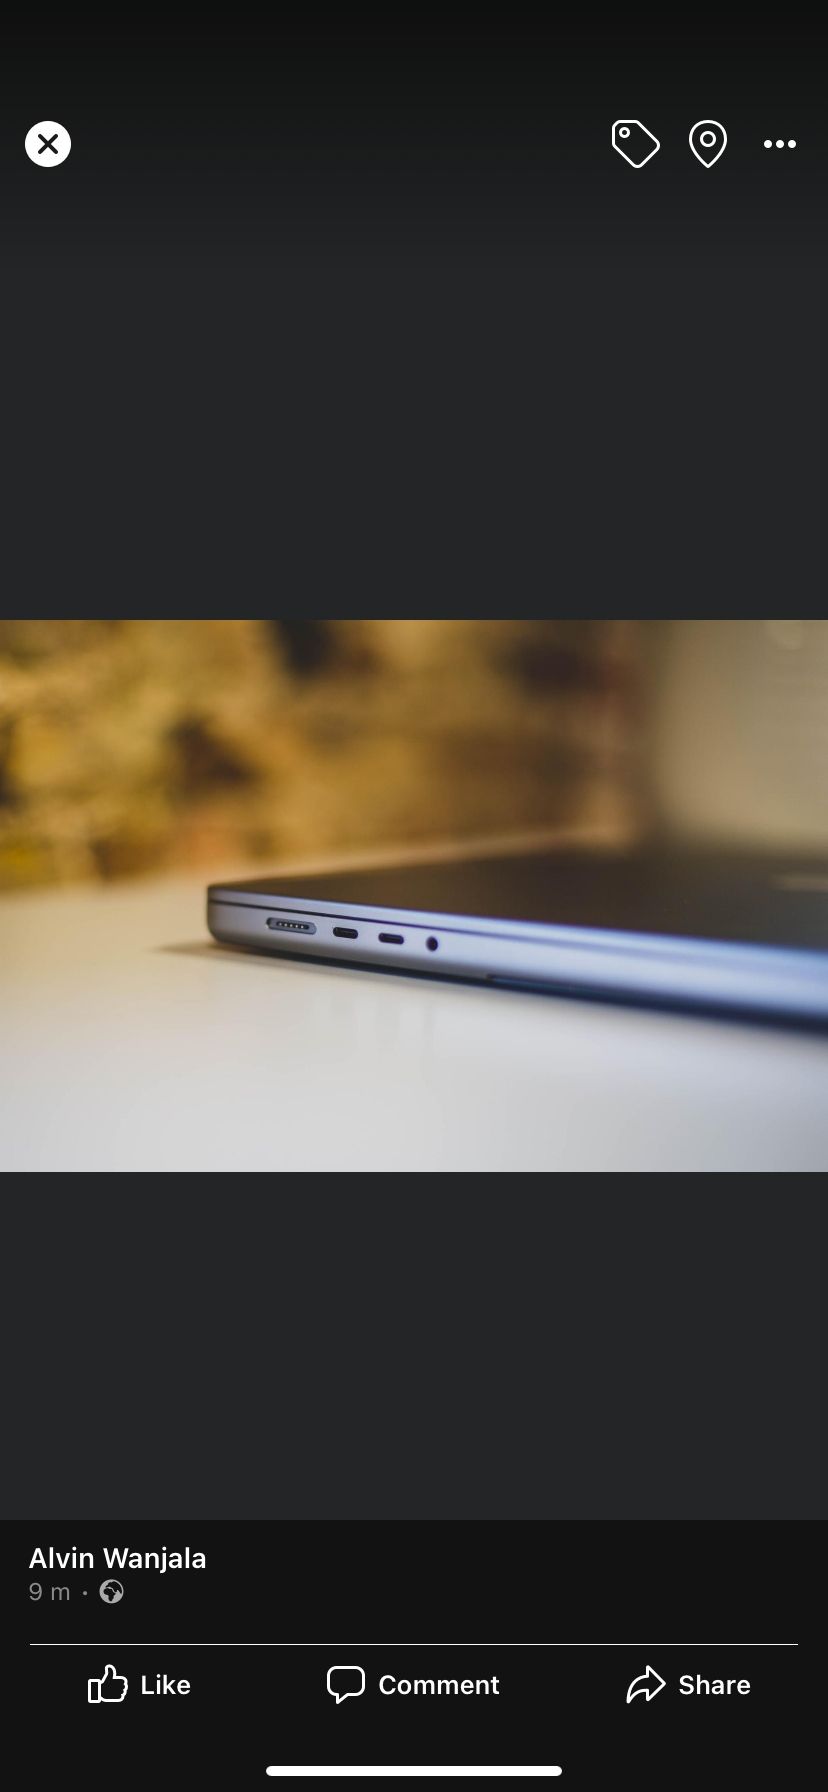
- TapUploads and then select the photo you want to make private.
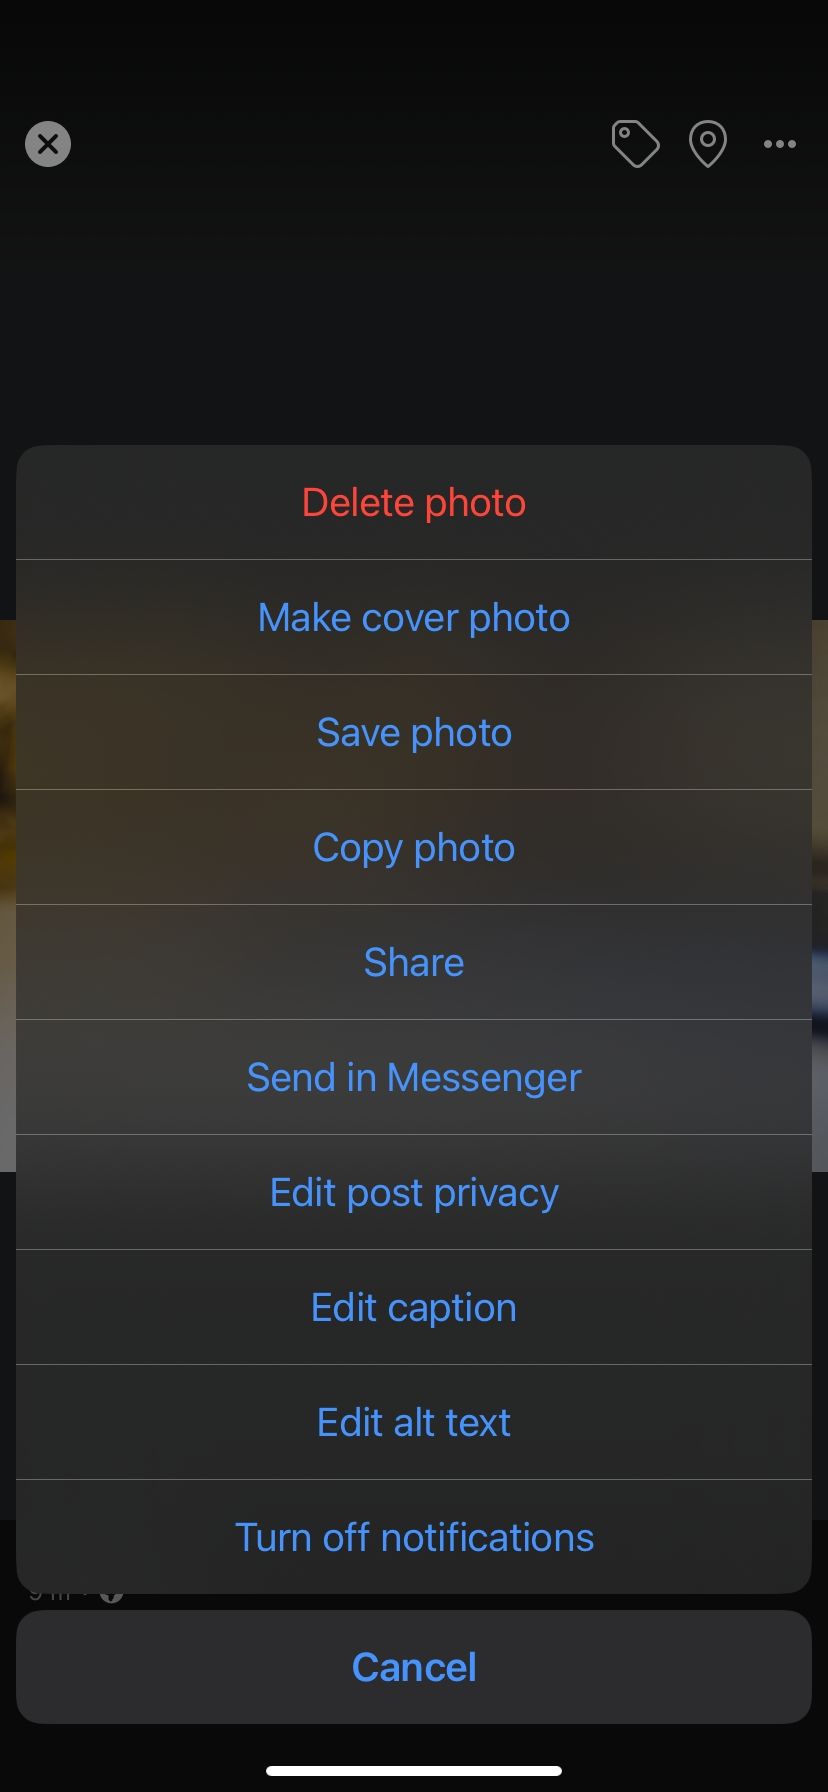
- After that, tap thethree dots in the top right corner.
- SelectEdit post privacy .
- Change the privacy setting toOnly me to hide the photo from your timeline and make it private.
- On Android, tap theback arrow , and your new privacy settings will automatically save. On iOS, tapDone in the top right to save your changes.

Close
How to Make Individual Facebook Photos Private on the Web
If you’re accessing Facebook on your desktop or laptop, follow these steps to make individual photos private:
- Navigate to your Facebook profile by clicking on your profile picture in the top right corner and selecting your name.
- SelectPhotos under your Facebook name.
- ClickPhotos > Your Photos .


- Click to open the photo you want to make private.
- Next, click thethree dots in the top right and selectEdit post audience .
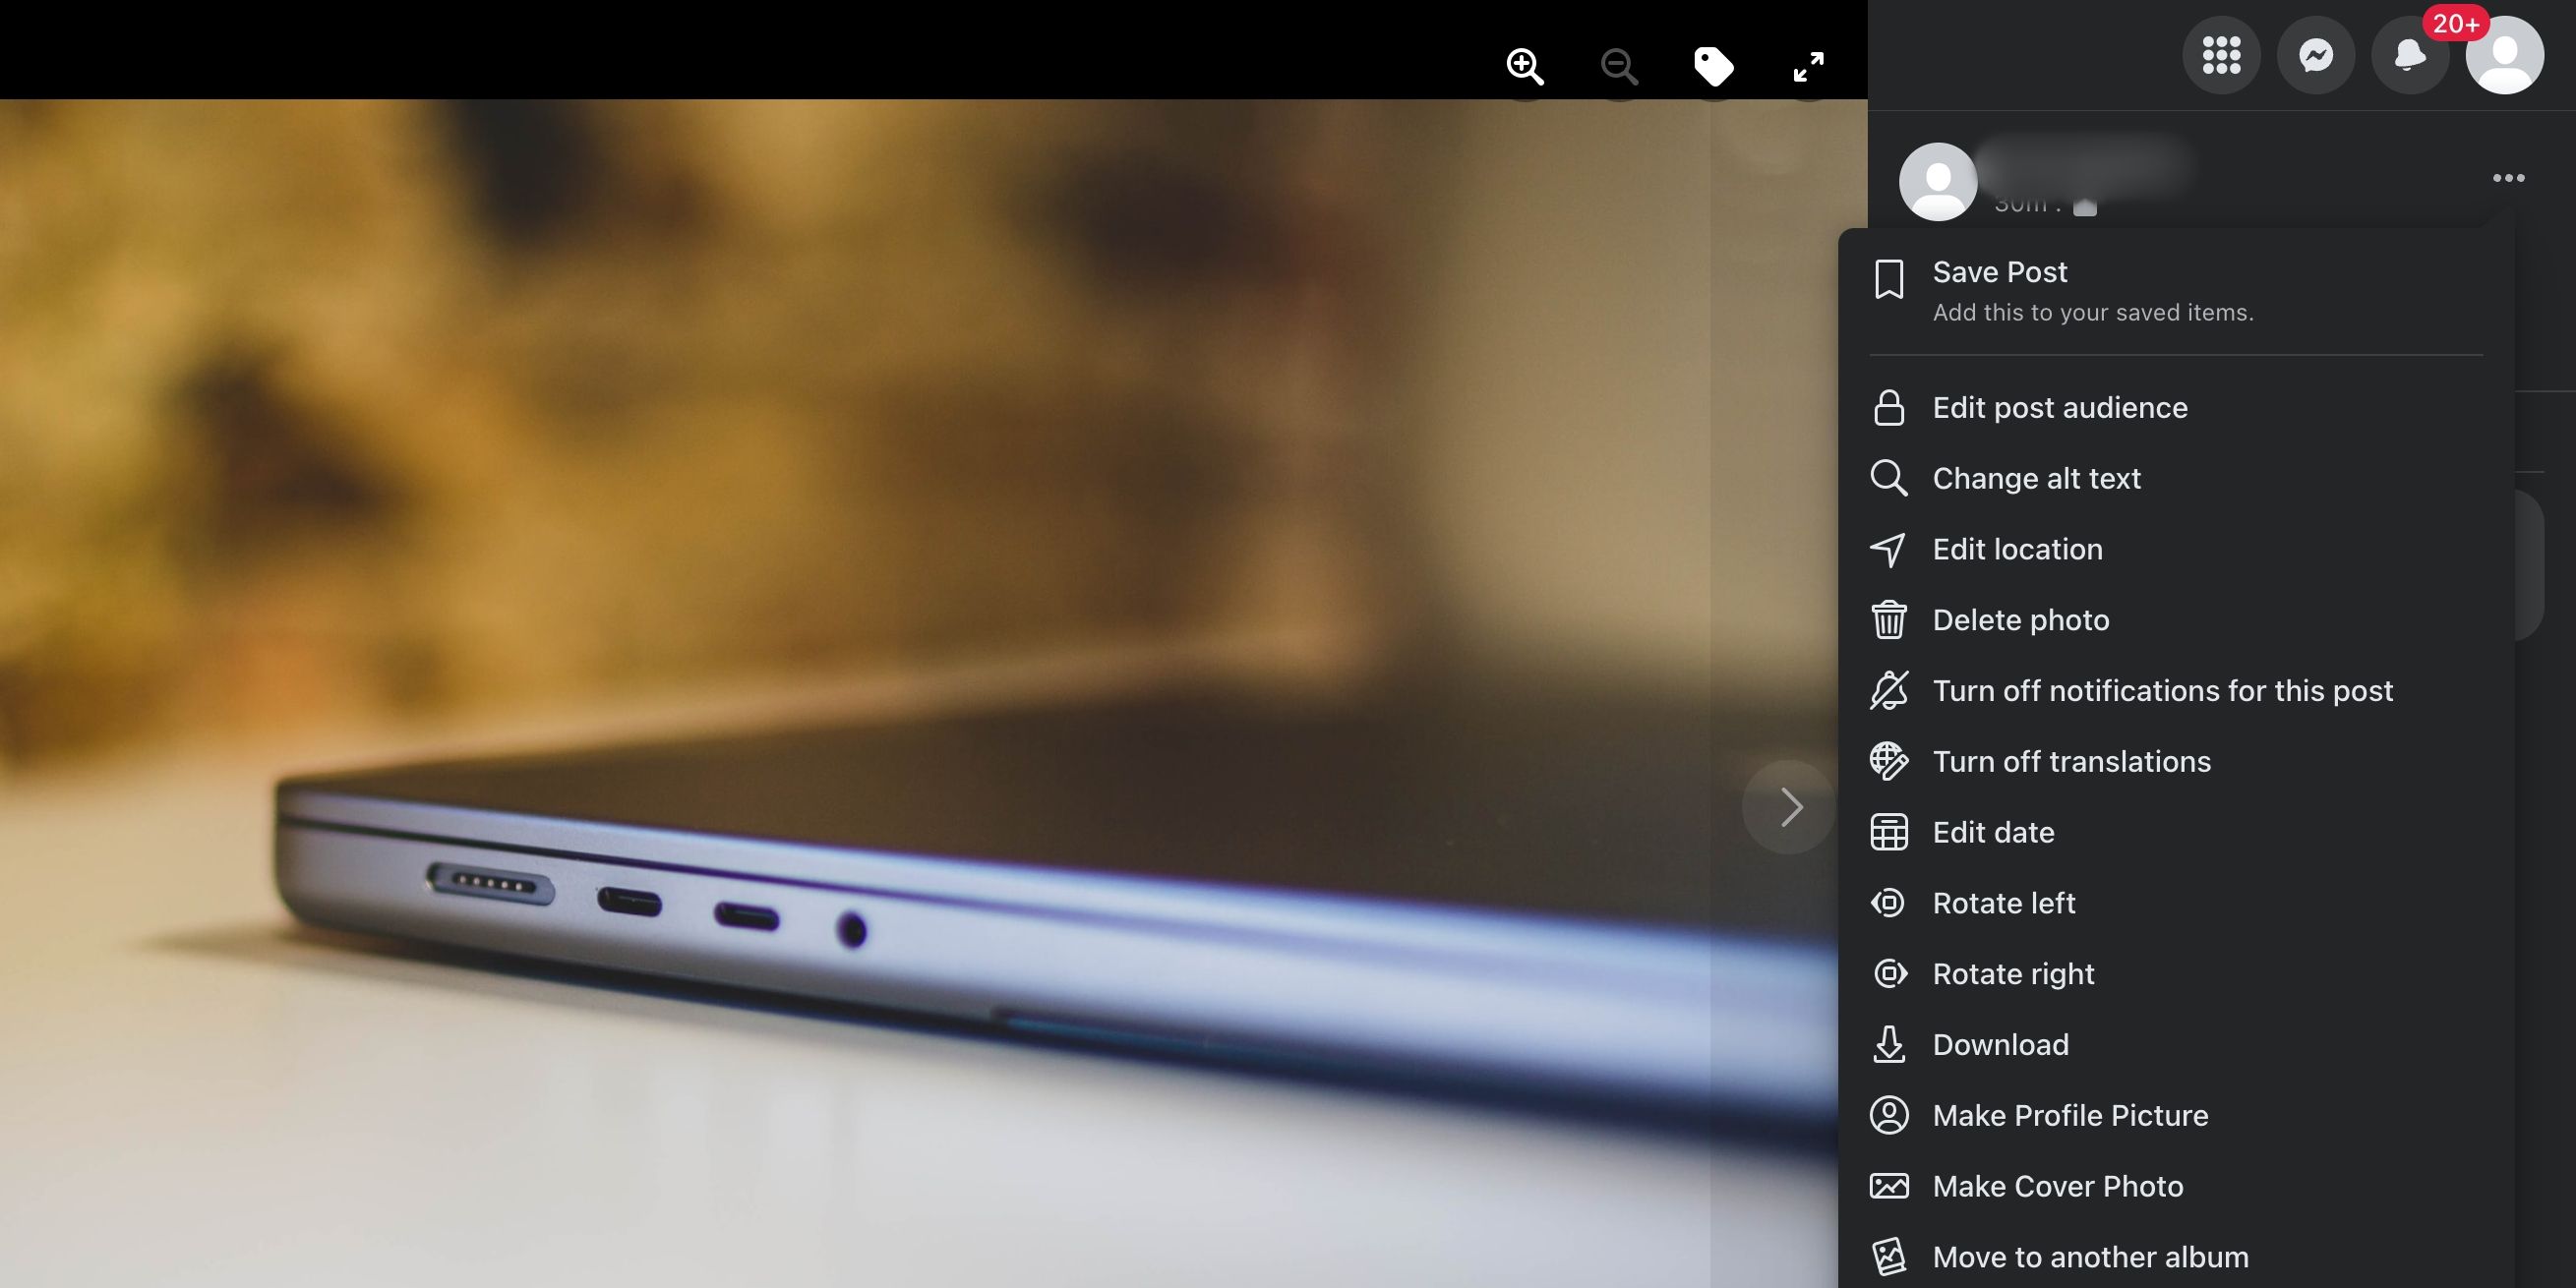
- SelectOnly me and clickDone to save your changes.
You can also choose other audience options if you don’t want to hide the photo completely and just want to make it less public. However, the best way to avoid the risks of using Facebook is to hide your photos completely or only share them with select people using the availableSpecific friends option.
Who Can See My Photos on Facebook? How to Check
If you want to double-check the privacy of your photos, you can view your public profile on Facebook. This is the profile that people who aren’t your friends can see.
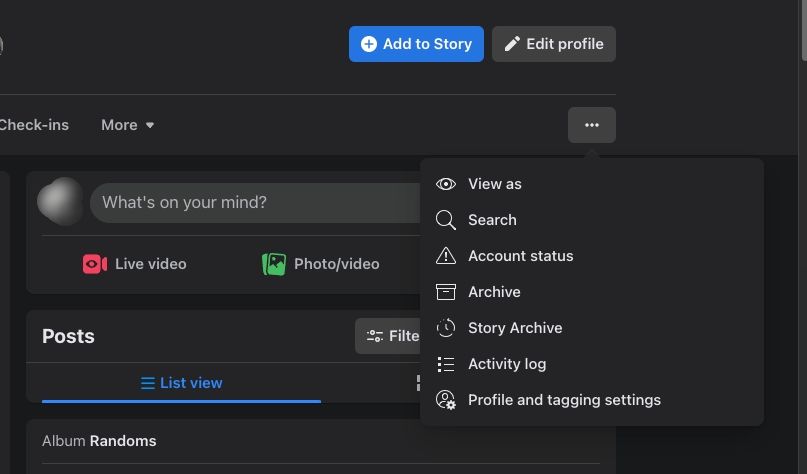
To do this, you’ll use theView As feature on Facebook. You can access it on both the Facebook website and the app.
To enter this mode, go to your profile. Select thethree dots belowEdit profile (on the Web) or next toEdit profile (on mobile) to open a dropdown or pop-up menu, then selectView As .
This will show you all the previous posts that people outside your Facebook friends list and the platform can see. You can not change the privacy settings of your Facebook you’re while you’re in the View As mode, but you can take note of the photos and the dates so that you can find them later.
Once you know which photos you want to set to private, leave View As public mode by clicking on your thumbnail in the top right corner of your screen or clicking back. Alternatively, tapExit View As . On mobile, tap theX button at the top to exit View As mode.
How to Hide Photos on Facebook From the Public in the Future
The next time you post a photo, the privacy settings will automatically follow the last settings you set for a photo if you don’t have a default option set. So, if you set a previous photo to Only Me, it will be the default audience setting of the next photo you upload.
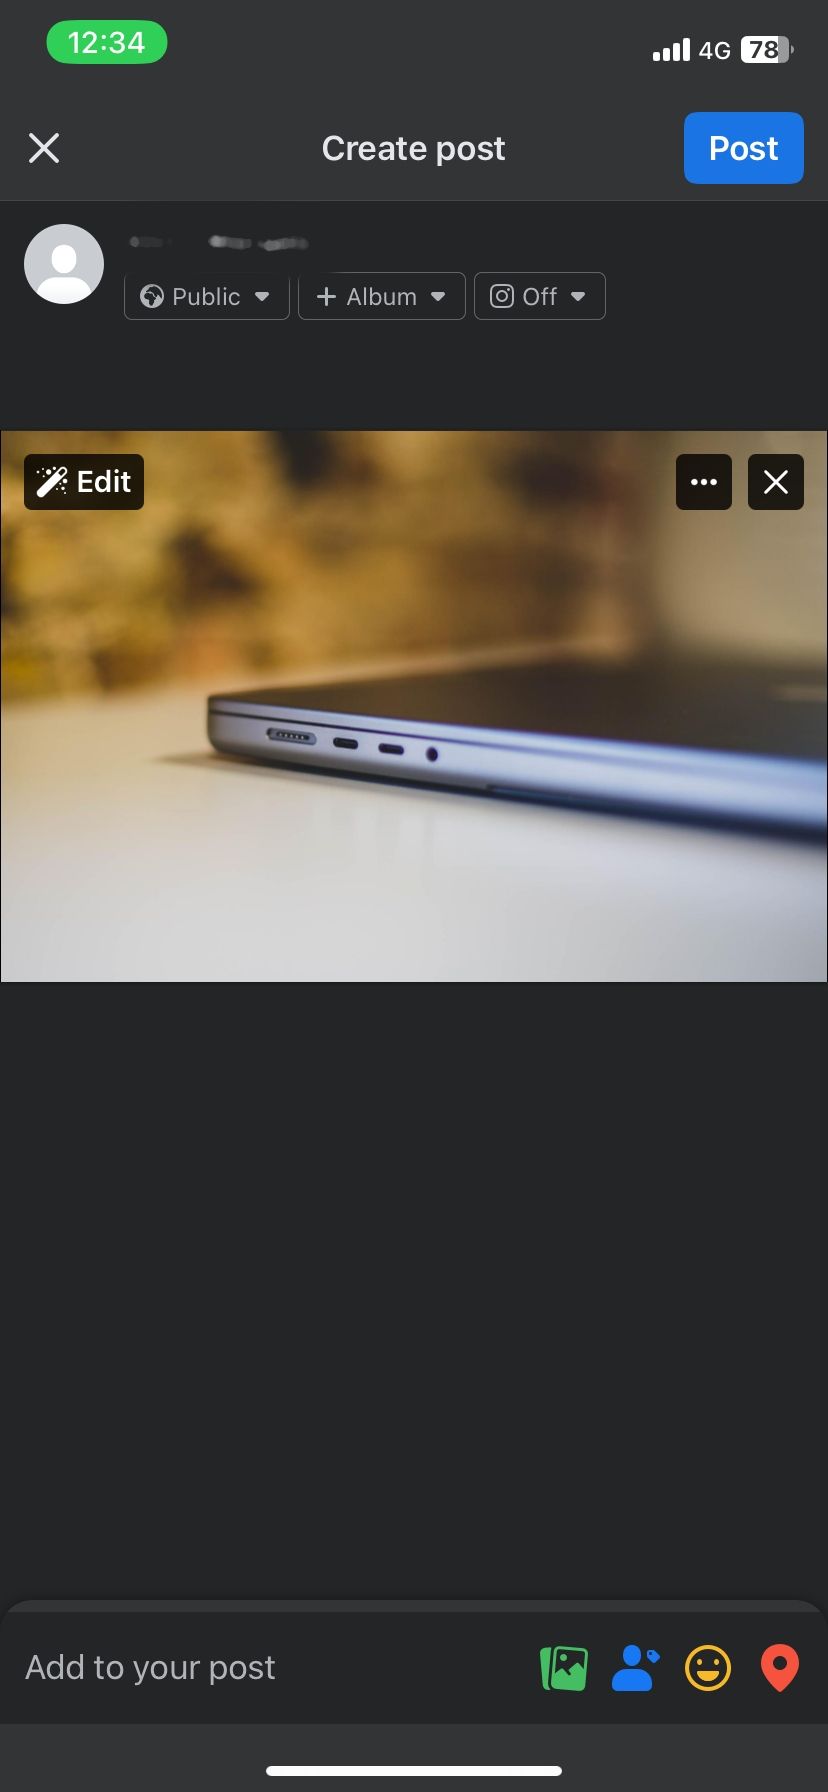
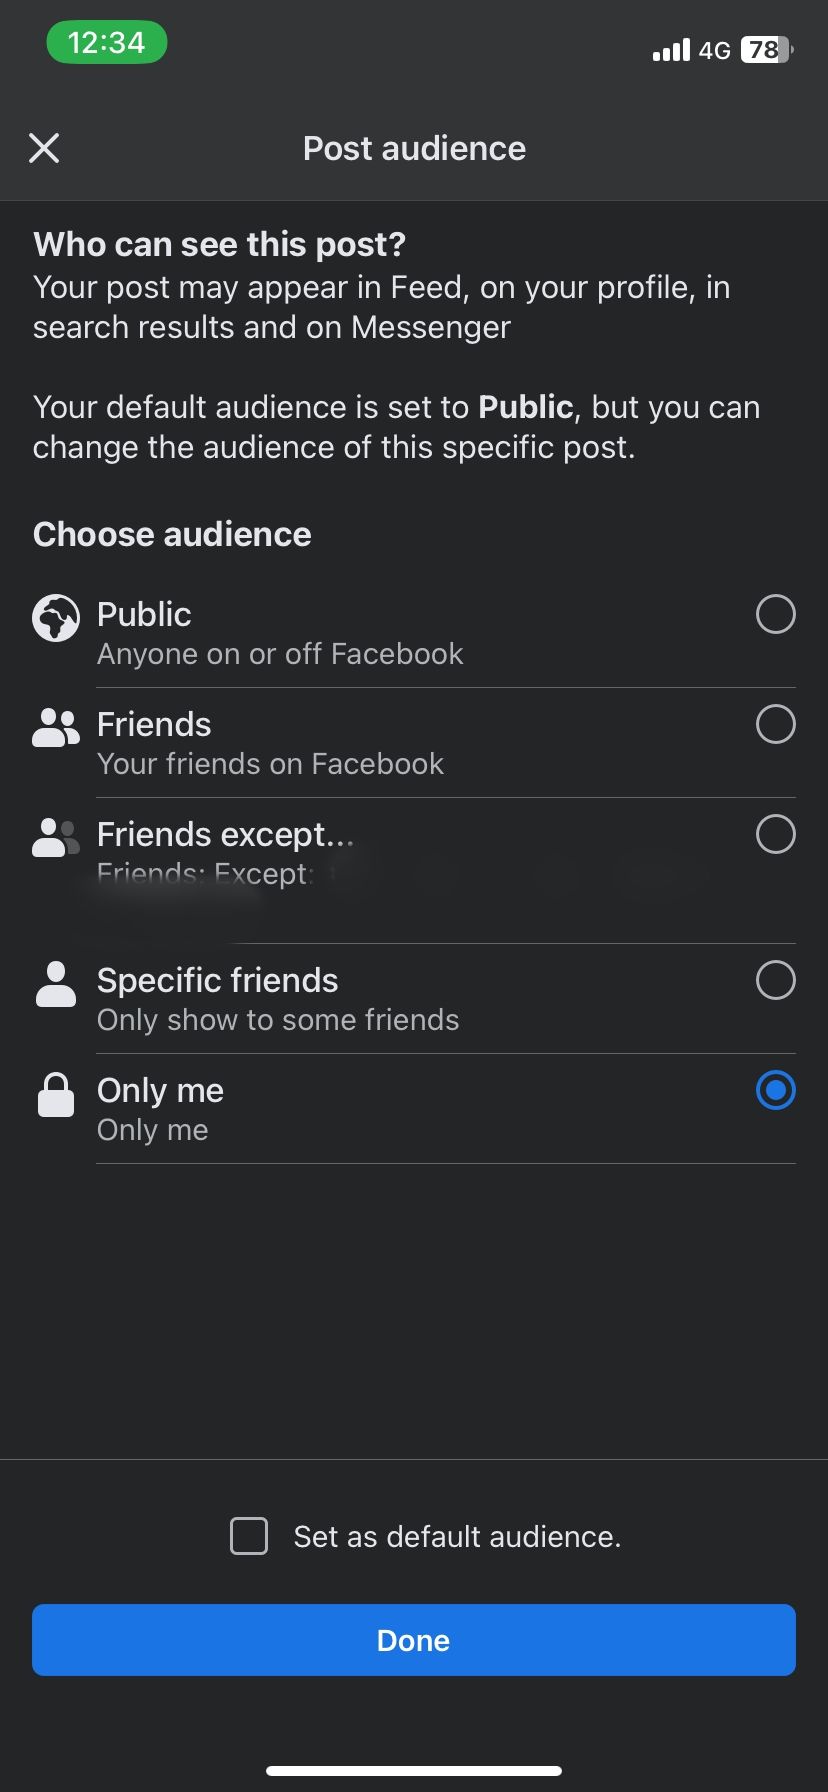
To change the audience settings of the photo you are about to upload, click on theaudience settings button . You will find it below your name.
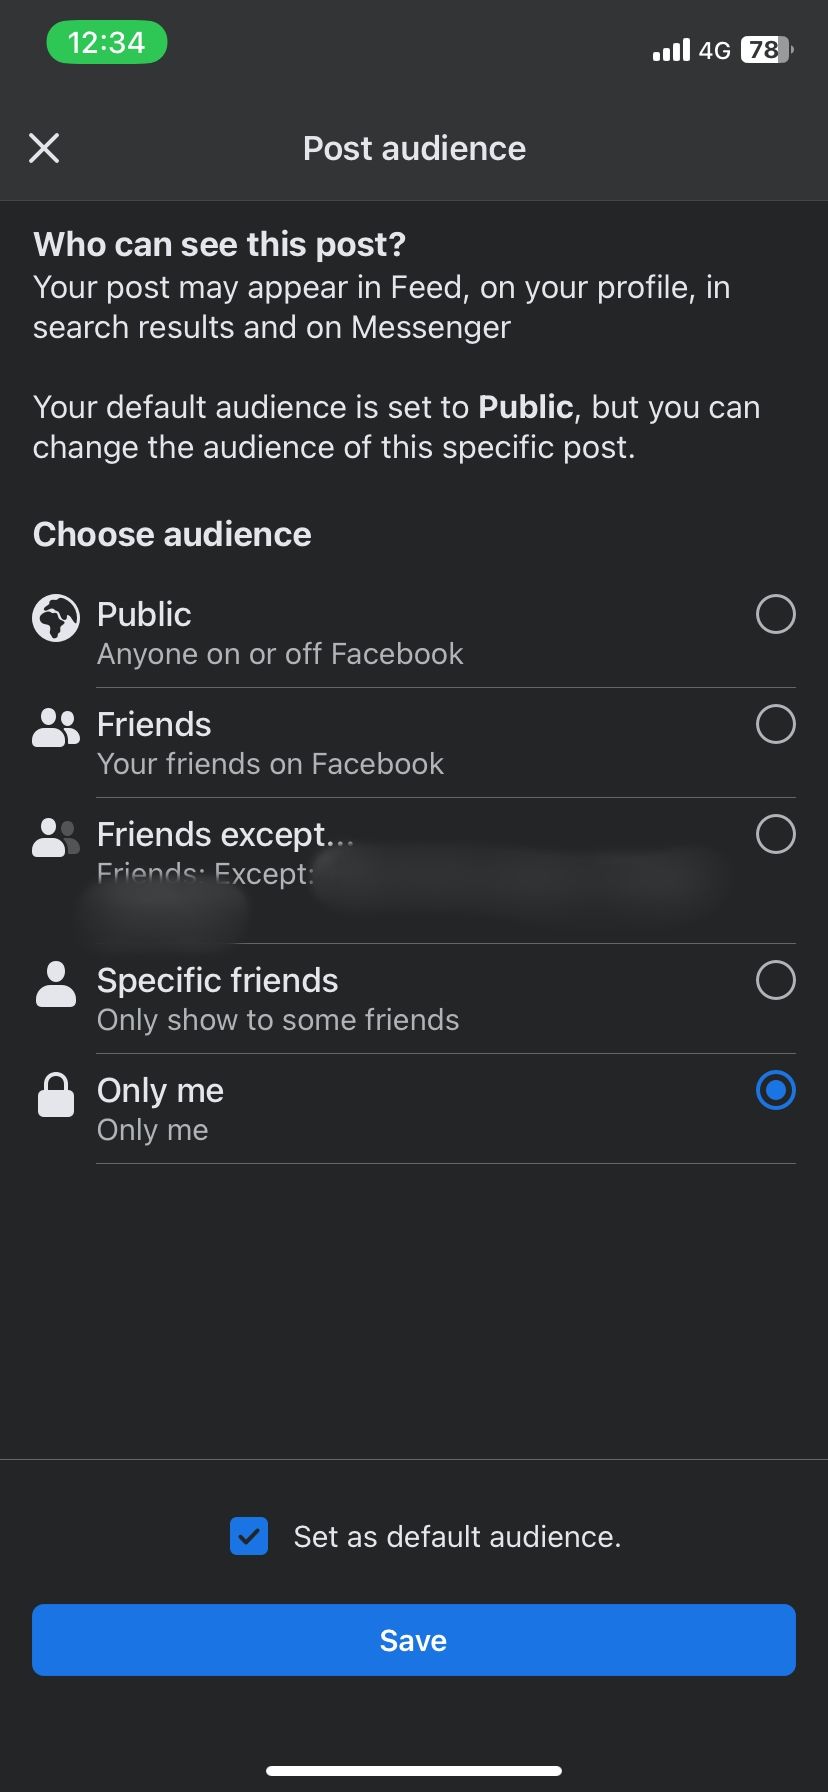
From here, you can change the post audience and even select a default option. First, select your preferred option. If you want the setting to apply to all future posts, tap to enableSet as default audience , then tapSave to return to your post. Otherwise, tapDone . When you want to share the photo, selectPost .
Close
If you don’t set a default audience option, always check this button before you upload or post anything on Facebook. You should do this just to make sure you are not accidentally sharing photos or information with people outside the platform and your friends list.
Also, regularly check your profile in View As mode to see if you may have accidentally shared anything with the public.
Having a Facebook privacy and security checklist that you go through regularly will help make sure you catch any of these photos right away. Remember that the longer these photos are shared publicly on social media, the higher the chances of a scammer getting a hold of them. Although this helps, you can make your Facebook private if you need more security.
Now You Know How to Hide Photos on Facebook
Reviewing your social media accounts and changing the audience settings of your photos to private is a good cyber hygiene practice. It will not only protect your data but will also protect the privacy of your loved ones who may be in the pictures you upload.
Always remember that there are unscrupulous hackers and scammers who are looking for ways to take advantage of other people.
- Title: Crafting a Cloak of Secrecy for Your Photos
- Author: Michael
- Created at : 2024-09-14 18:14:06
- Updated at : 2024-09-21 17:58:35
- Link: https://facebook.techidaily.com/crafting-a-cloak-of-secrecy-for-your-photos/
- License: This work is licensed under CC BY-NC-SA 4.0.