The Ultimate Checklist for Producing High-Quality Facebook Reels

The Ultimate Checklist for Producing High-Quality Facebook Reels
Ever wished you could create and share Reels on Facebook like you can on Instagram? Well, now you can!
In this article, we’ll walk you through the steps of creating and sharing a Reel on Facebook. So, whether you’re looking to show off your dance skills or share a funny clip with your friends, we’ve got you covered. Let’s get started…
Reels on Facebook

Close
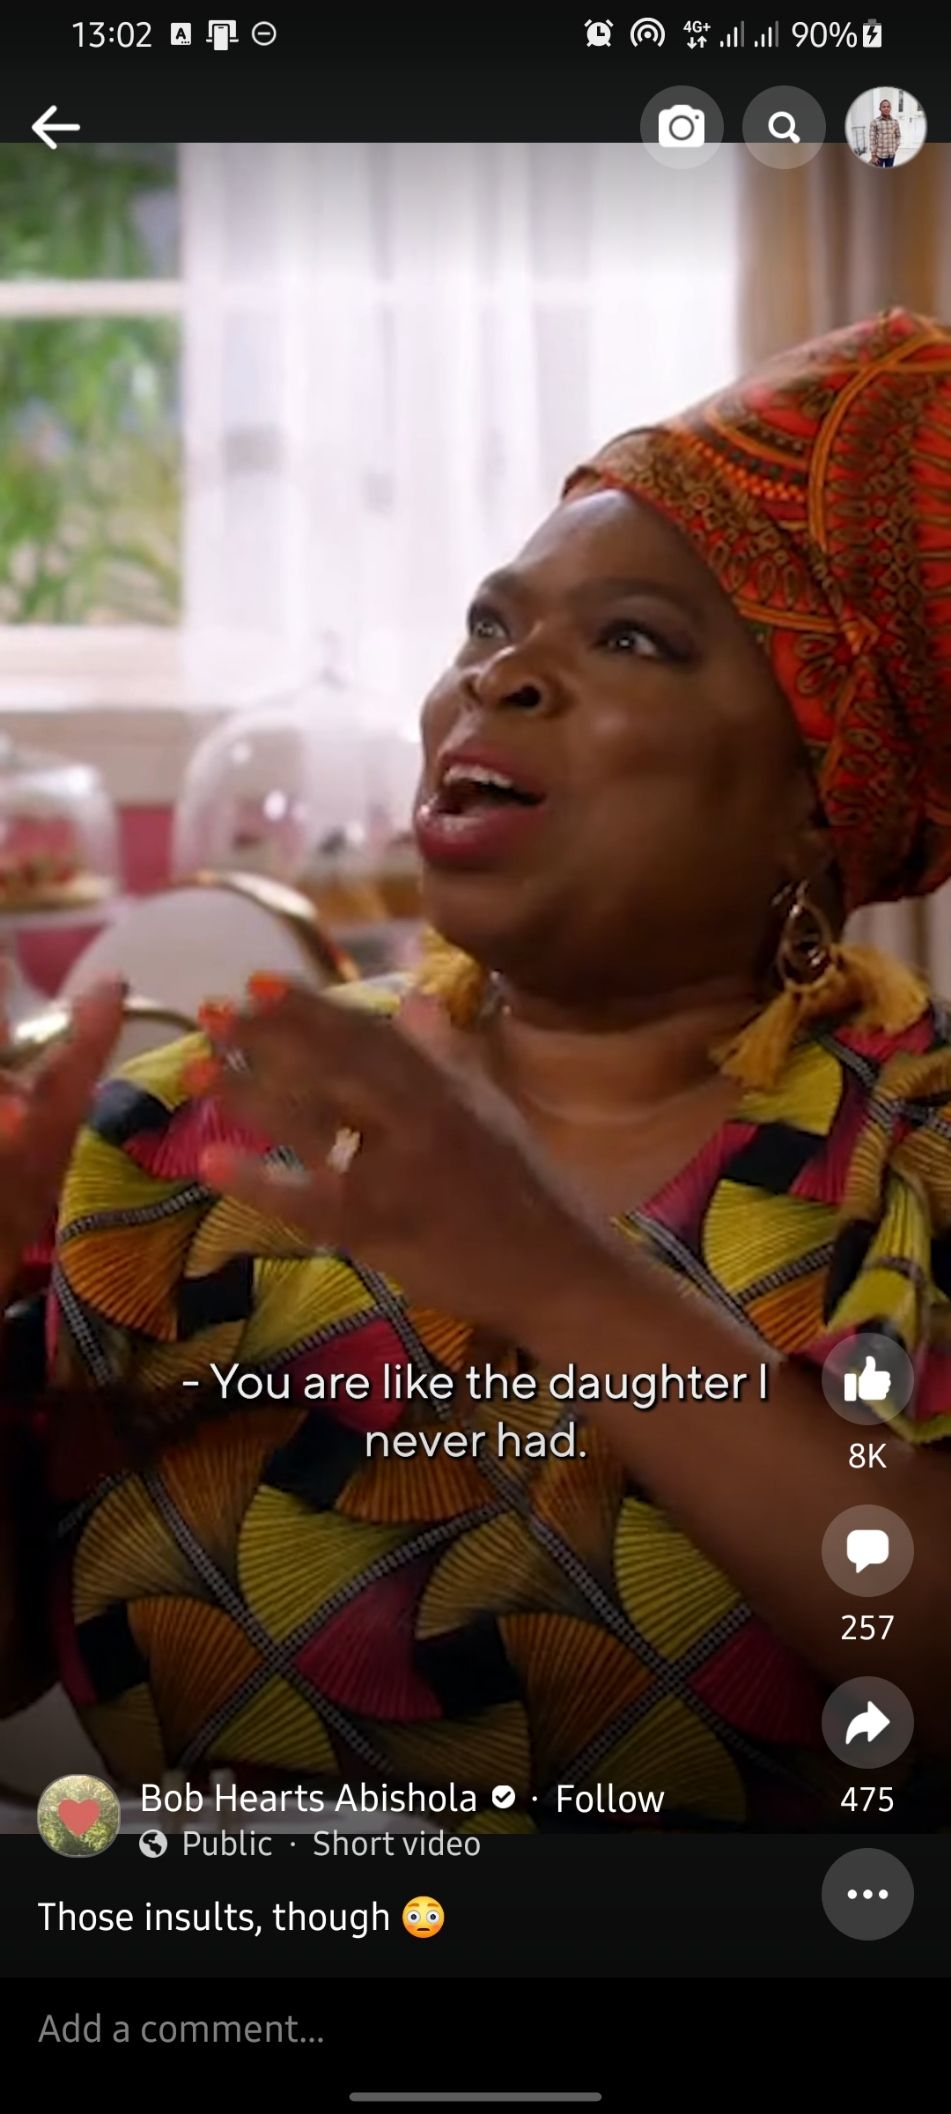
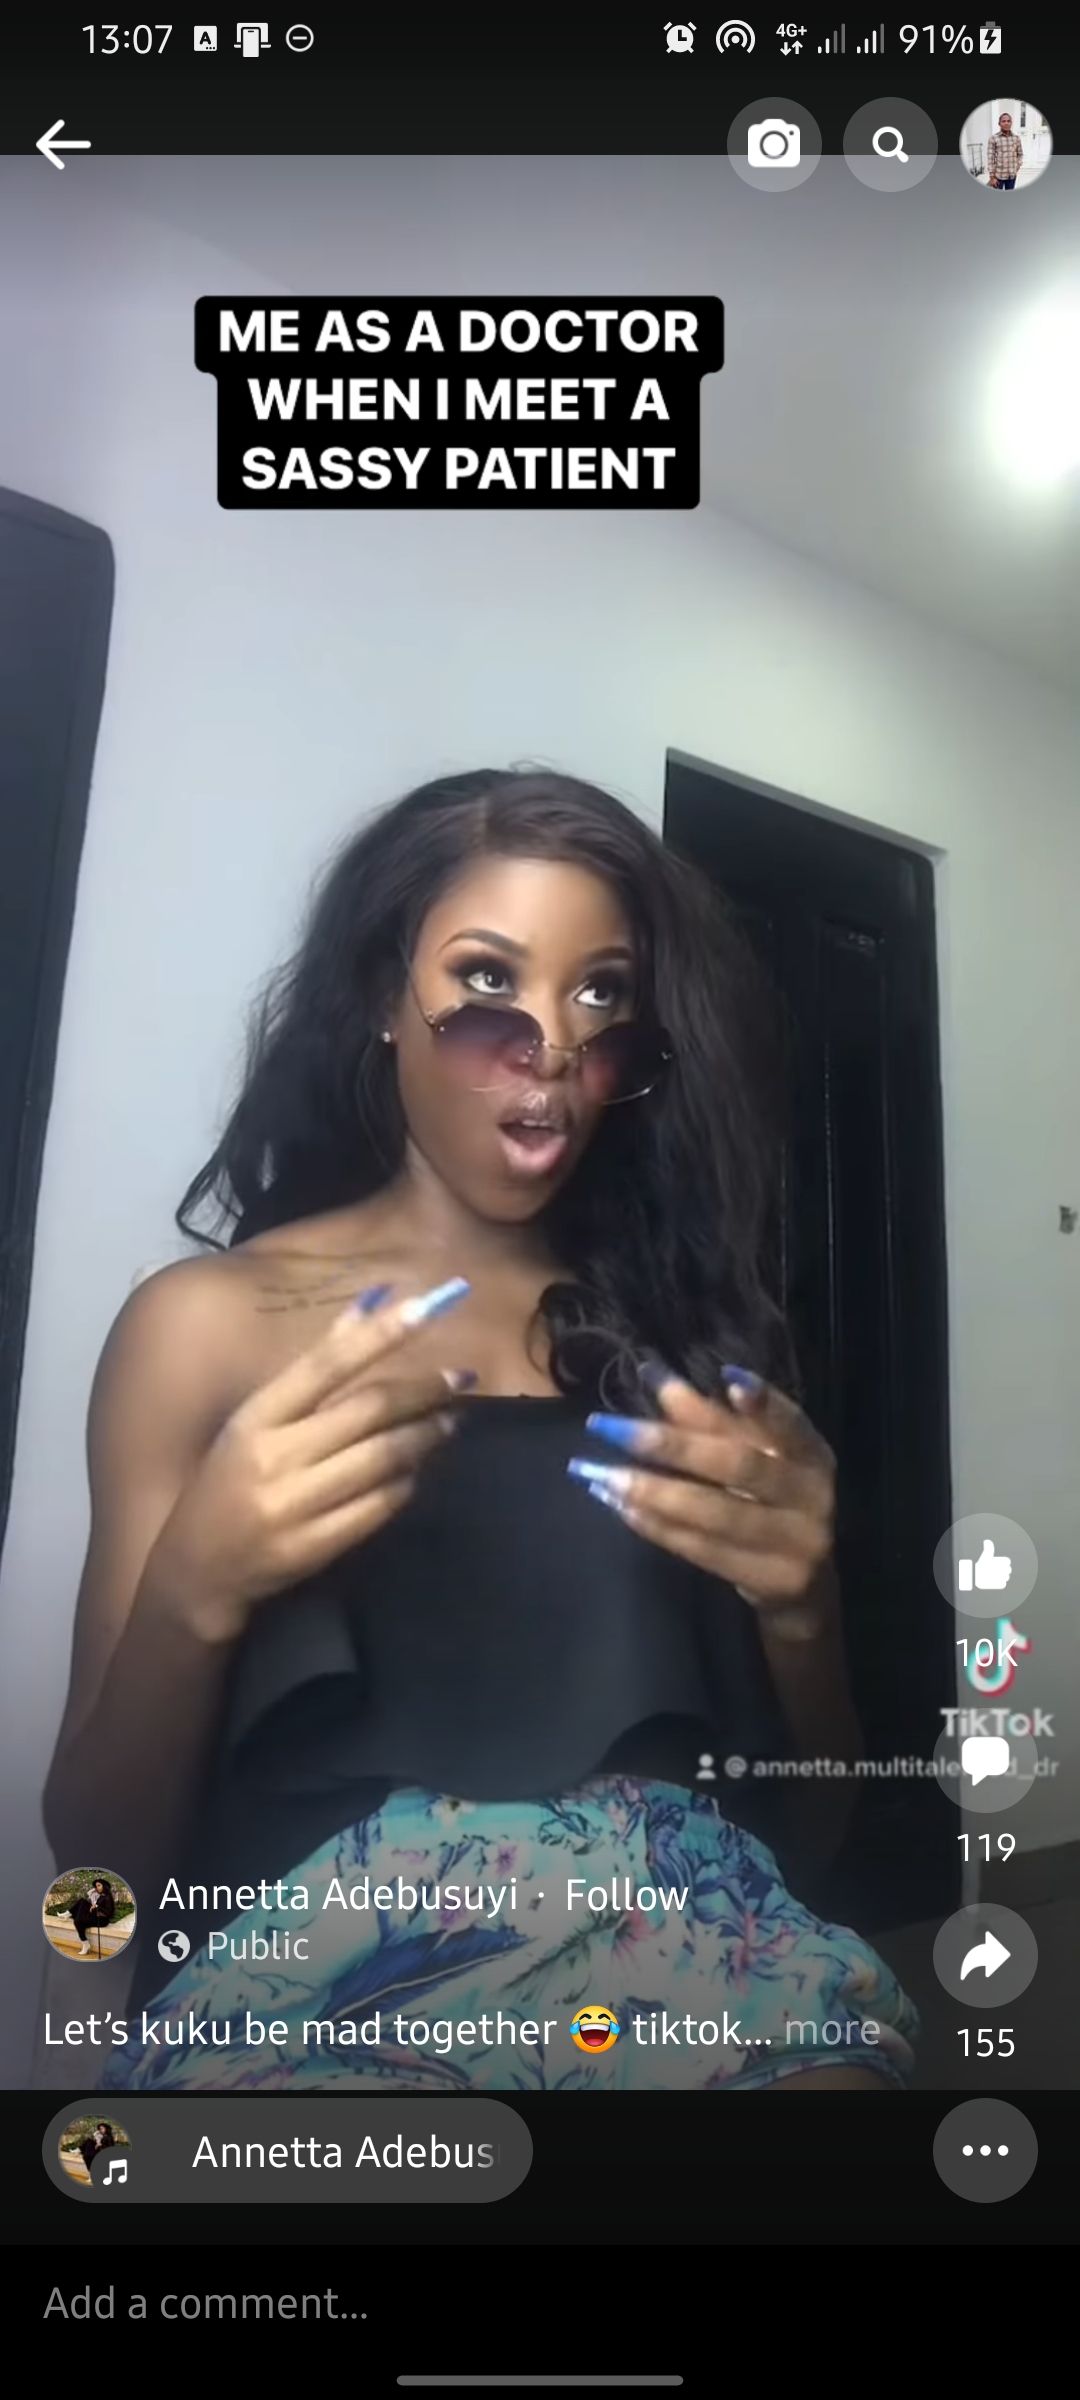
Meta introduced Reels to Instagram in 2020 to take on TikTok, which was soaring in popularity at the time. Reels work similarly to how TikTok videos work . They are usually between 15 and 60 seconds long and edited with audio or various effects.
The feature surged in popularity and quickly became the platform’s fastest-growing content format by a wide margin. This, in turn, encouraged Facebook to launch Reels on its platform in February 2022.
How to Create a Reel on Facebook
Creating a Reel on Facebook is easy once you know how. Here’s a step-by-step guide:
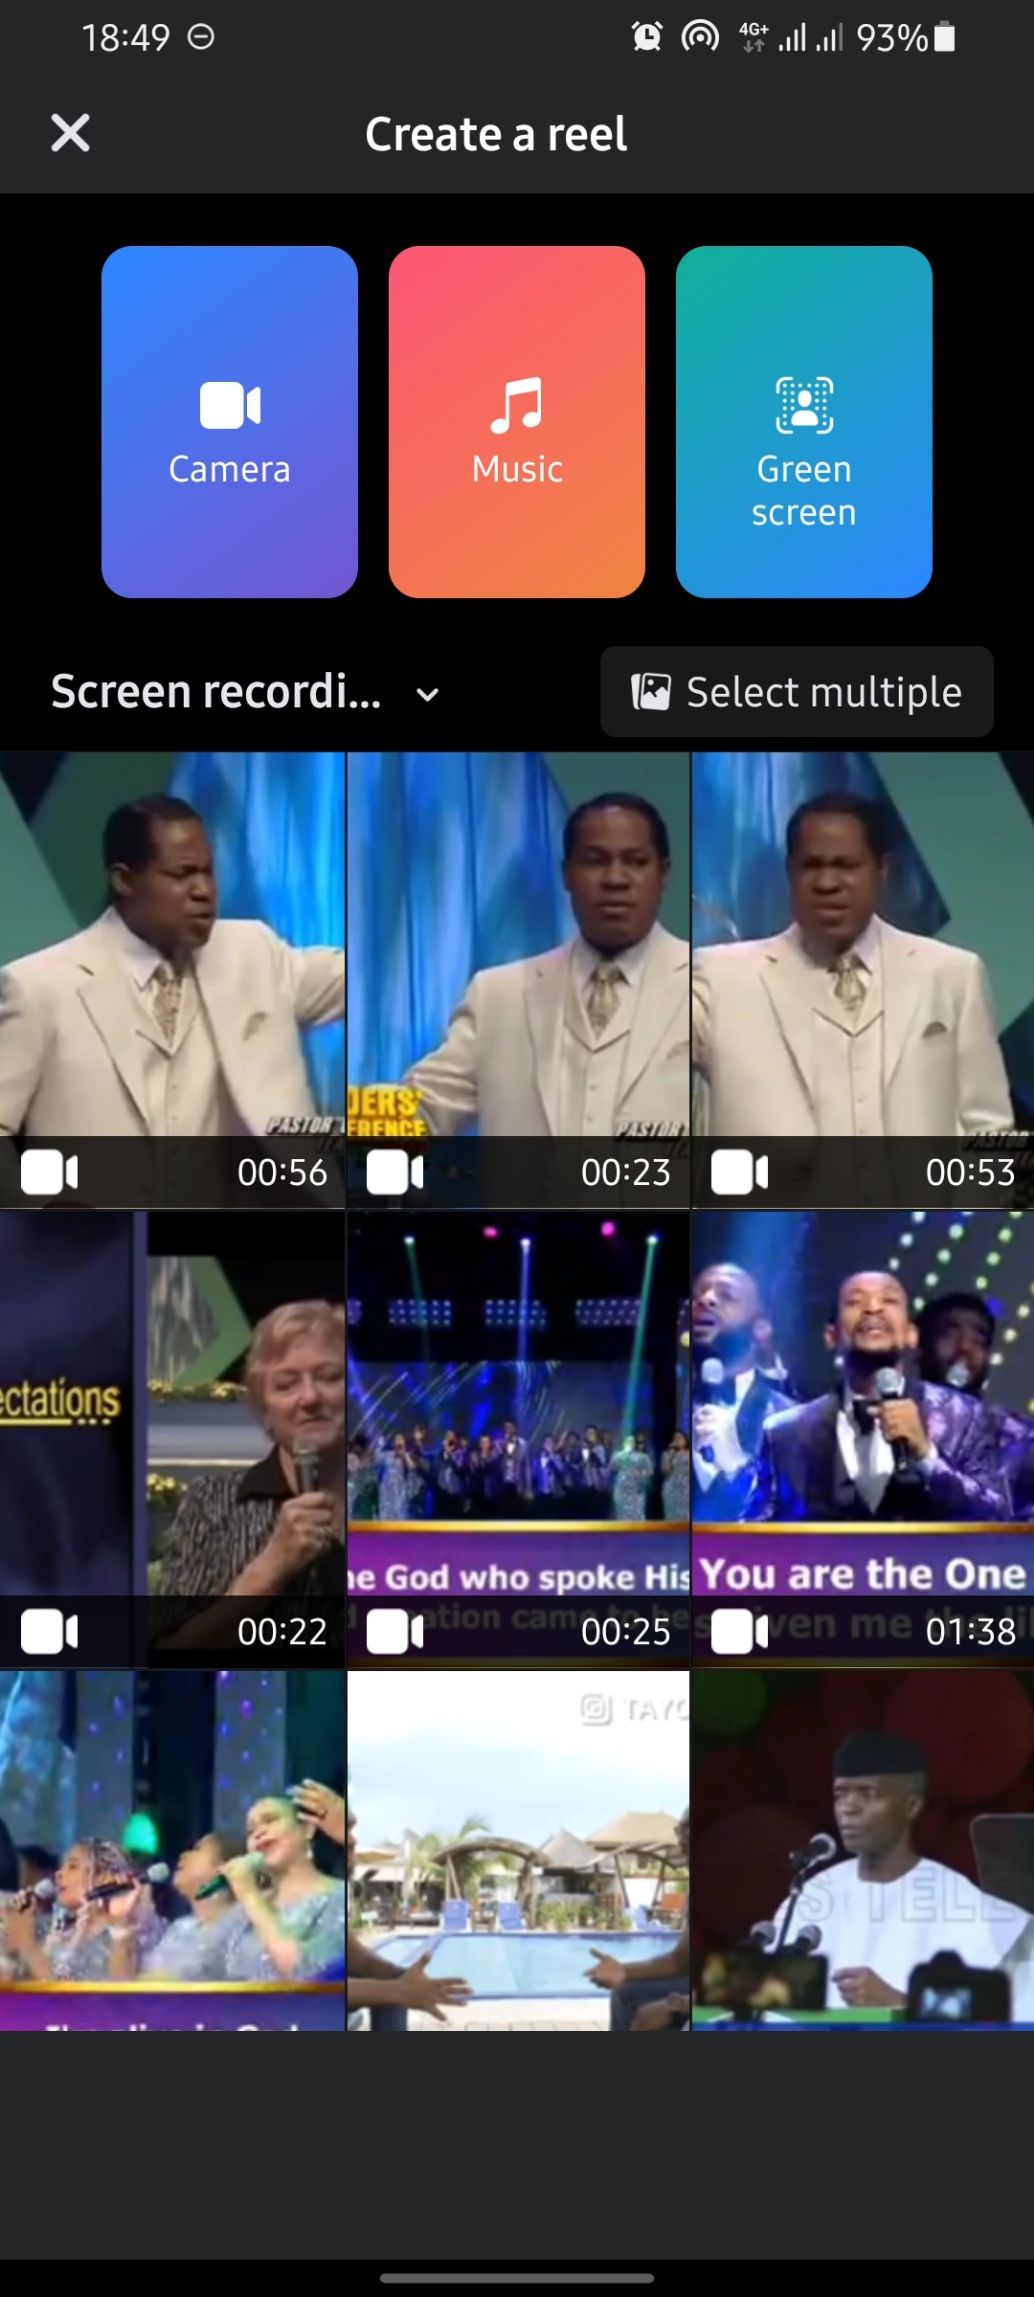
Close
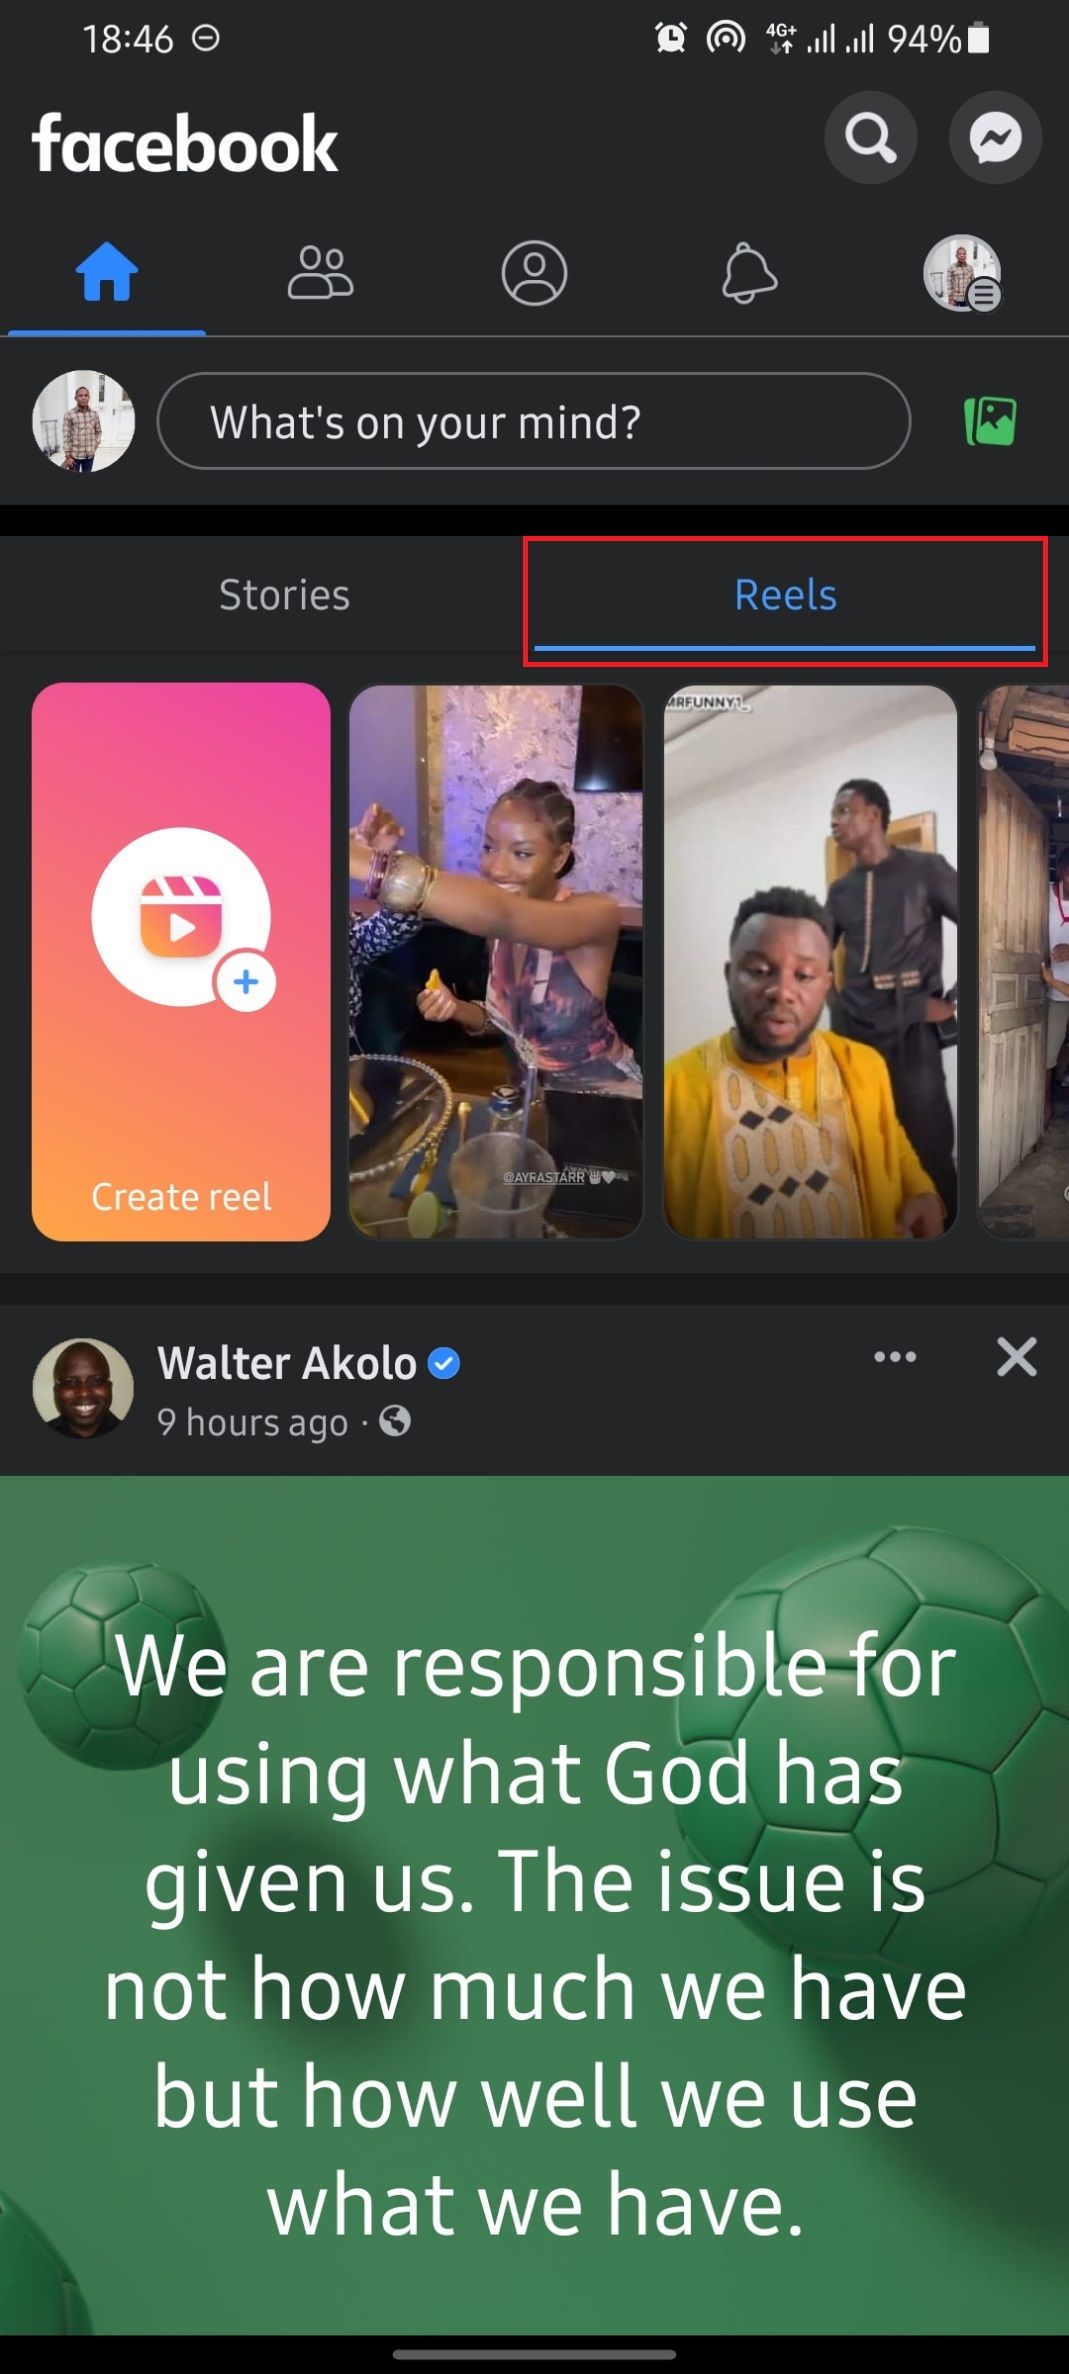
- Launch the Facebook app on your device.
- Tap onReels right above yourStories to switch to the Reels tab.
- Tap on theCreate Reel panel to create a new Reel.
- You can either choose to capture footage directly in the app, or select videos and photos from your camera roll.
- Once you’ve selected your content, it’s time to edit. You can add effects, filters, and music to your Reel.
Recording Your First Facebook Reel Video
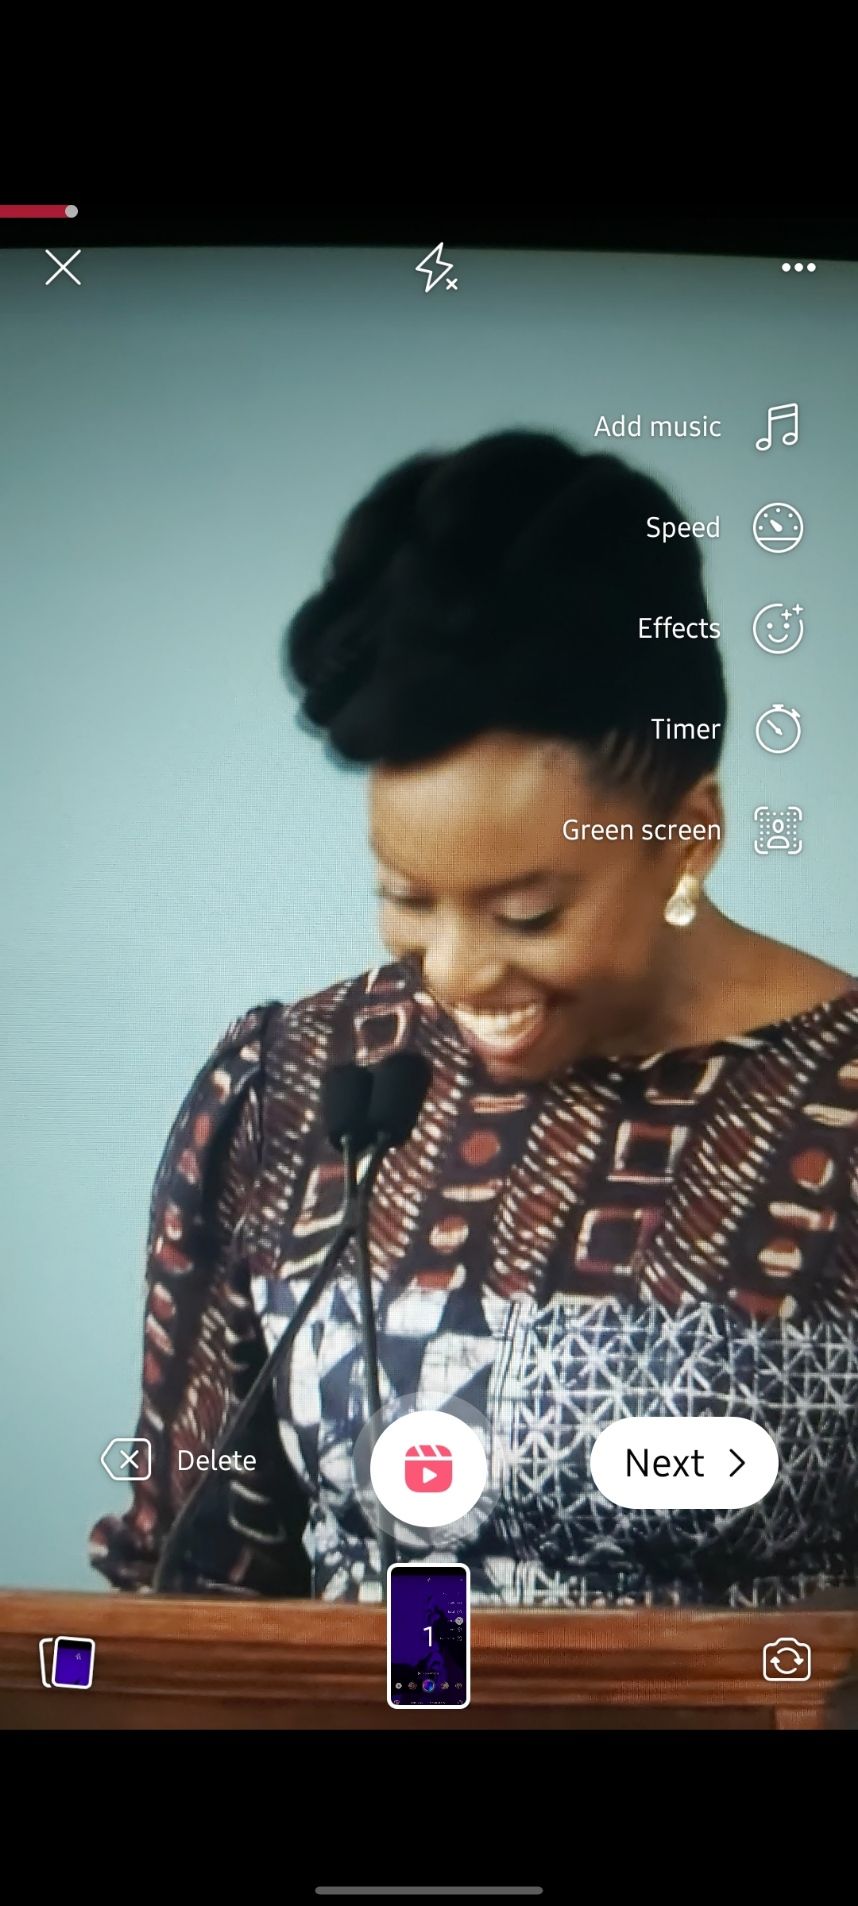
If you’re filming directly in the app, you’ll see a few options on the right side of your screen.
Facebook-Reel-recording-page-options-1
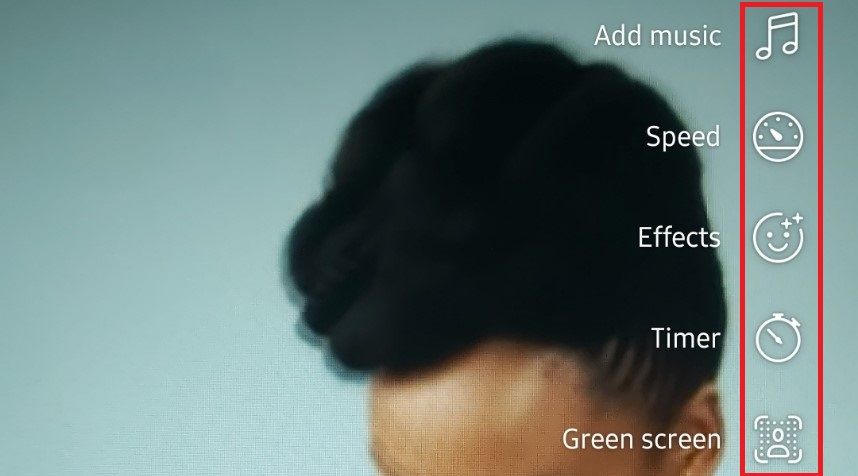
The first isAdd music . Here, you can choose to add a soundtrack to your Reel from Facebook’s library of licensed songs. There’s alsolength , where you can choose how long you want your Reel to be. The maximum length is 60 seconds.
Then there’sSpeed . This is where you can choose to speed up or slow down your video.Effects is where you can add fun filters to your Reel. Next isTimer , which lets you choose how long you want the camera to run before it starts recording.
And last but not least, there’sGreen screen . This is a fun effect that lets you change the background of your video.
Once you’re happy with your settings, it’s time to record! Tap on theRecord button and start filming. When you’re done, tap on theNext button to go to the edit page.
Editing Your Facebook Reel Video
Close
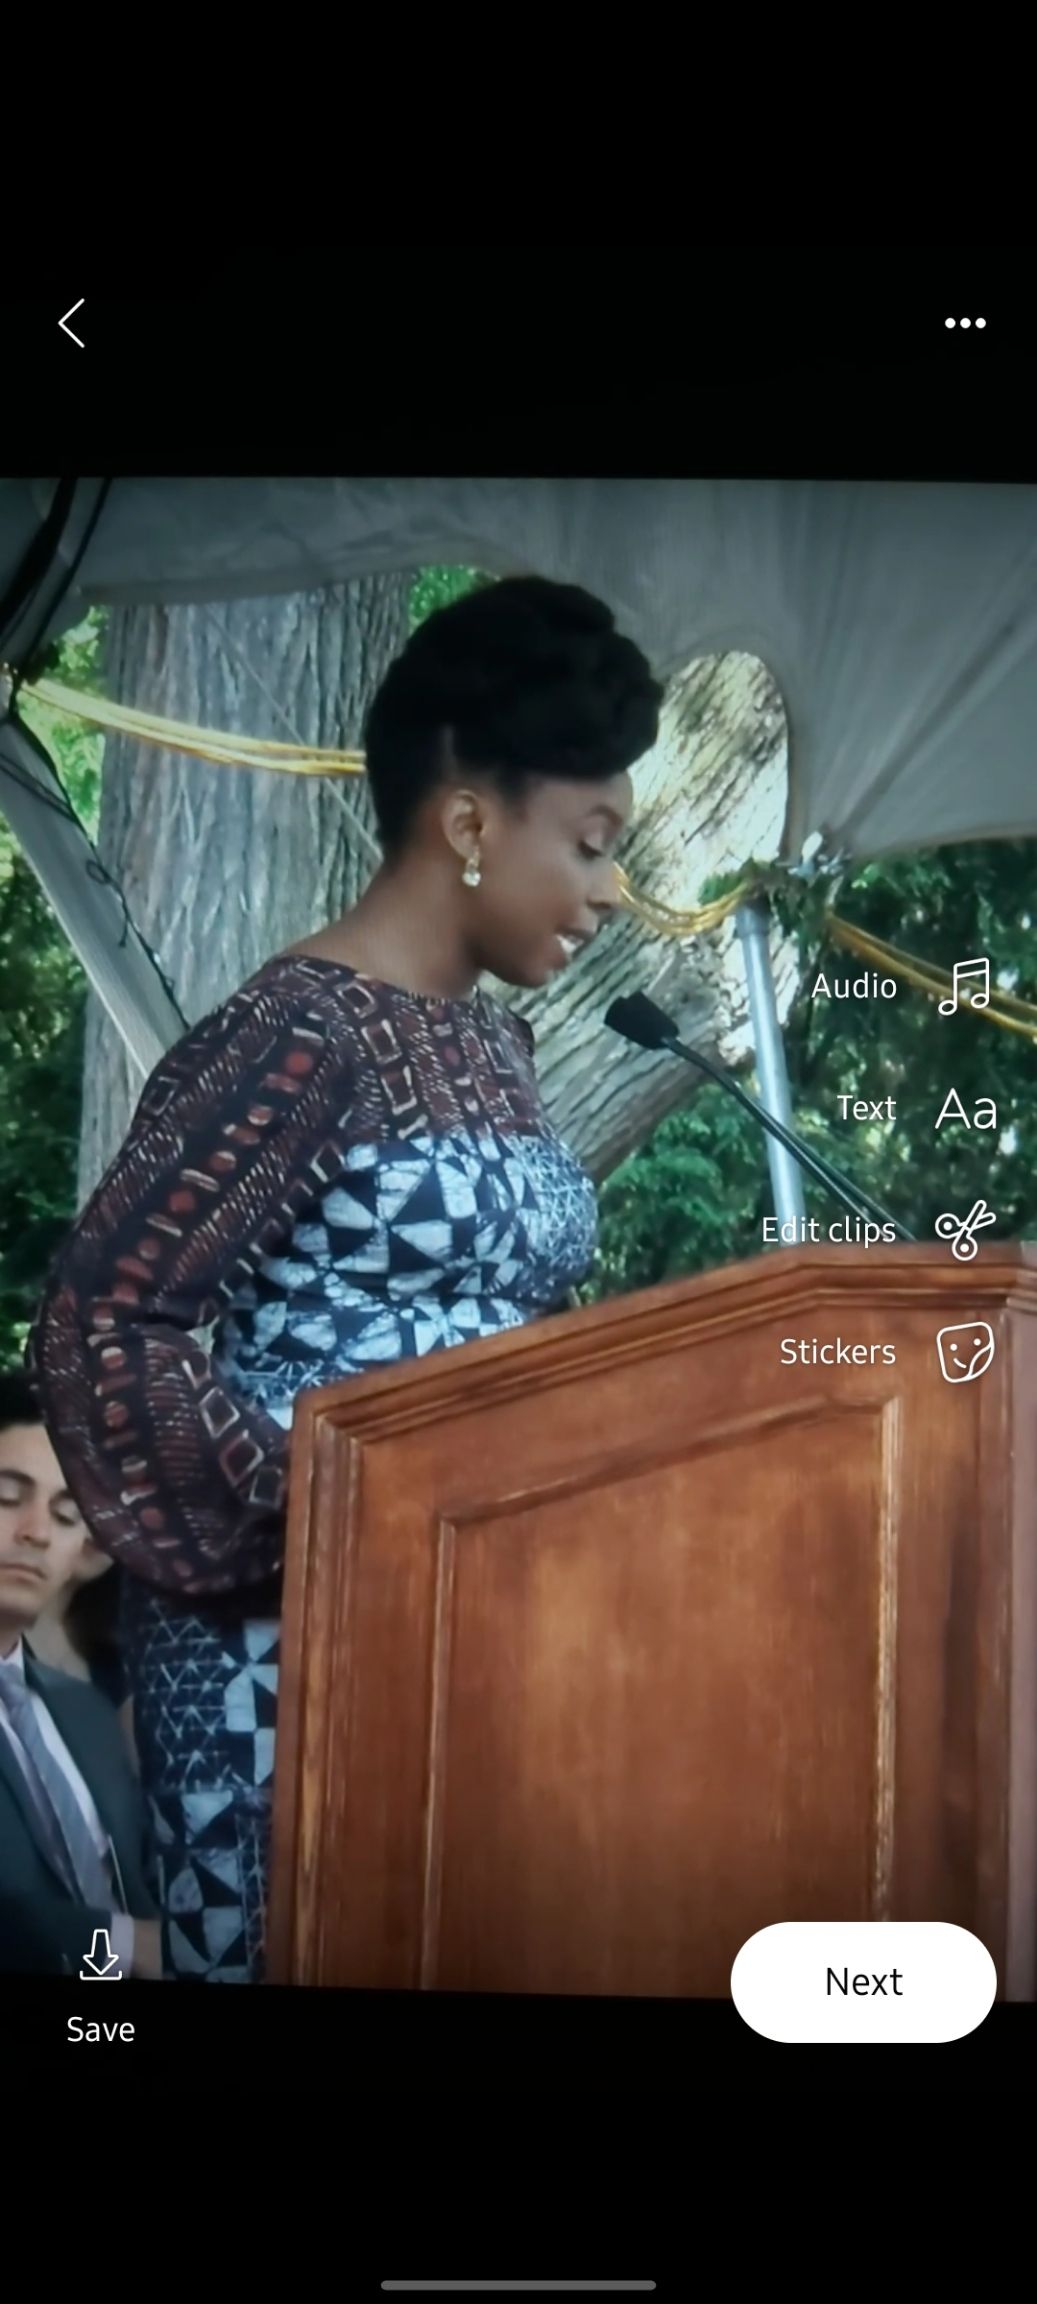
The edit page is where you can really bring your Reel to life. Here, you can edit clips and add stickers, text, and music (if you’ve not already) to your video. You’ll find the Edit options on the right side, like on the recording page.
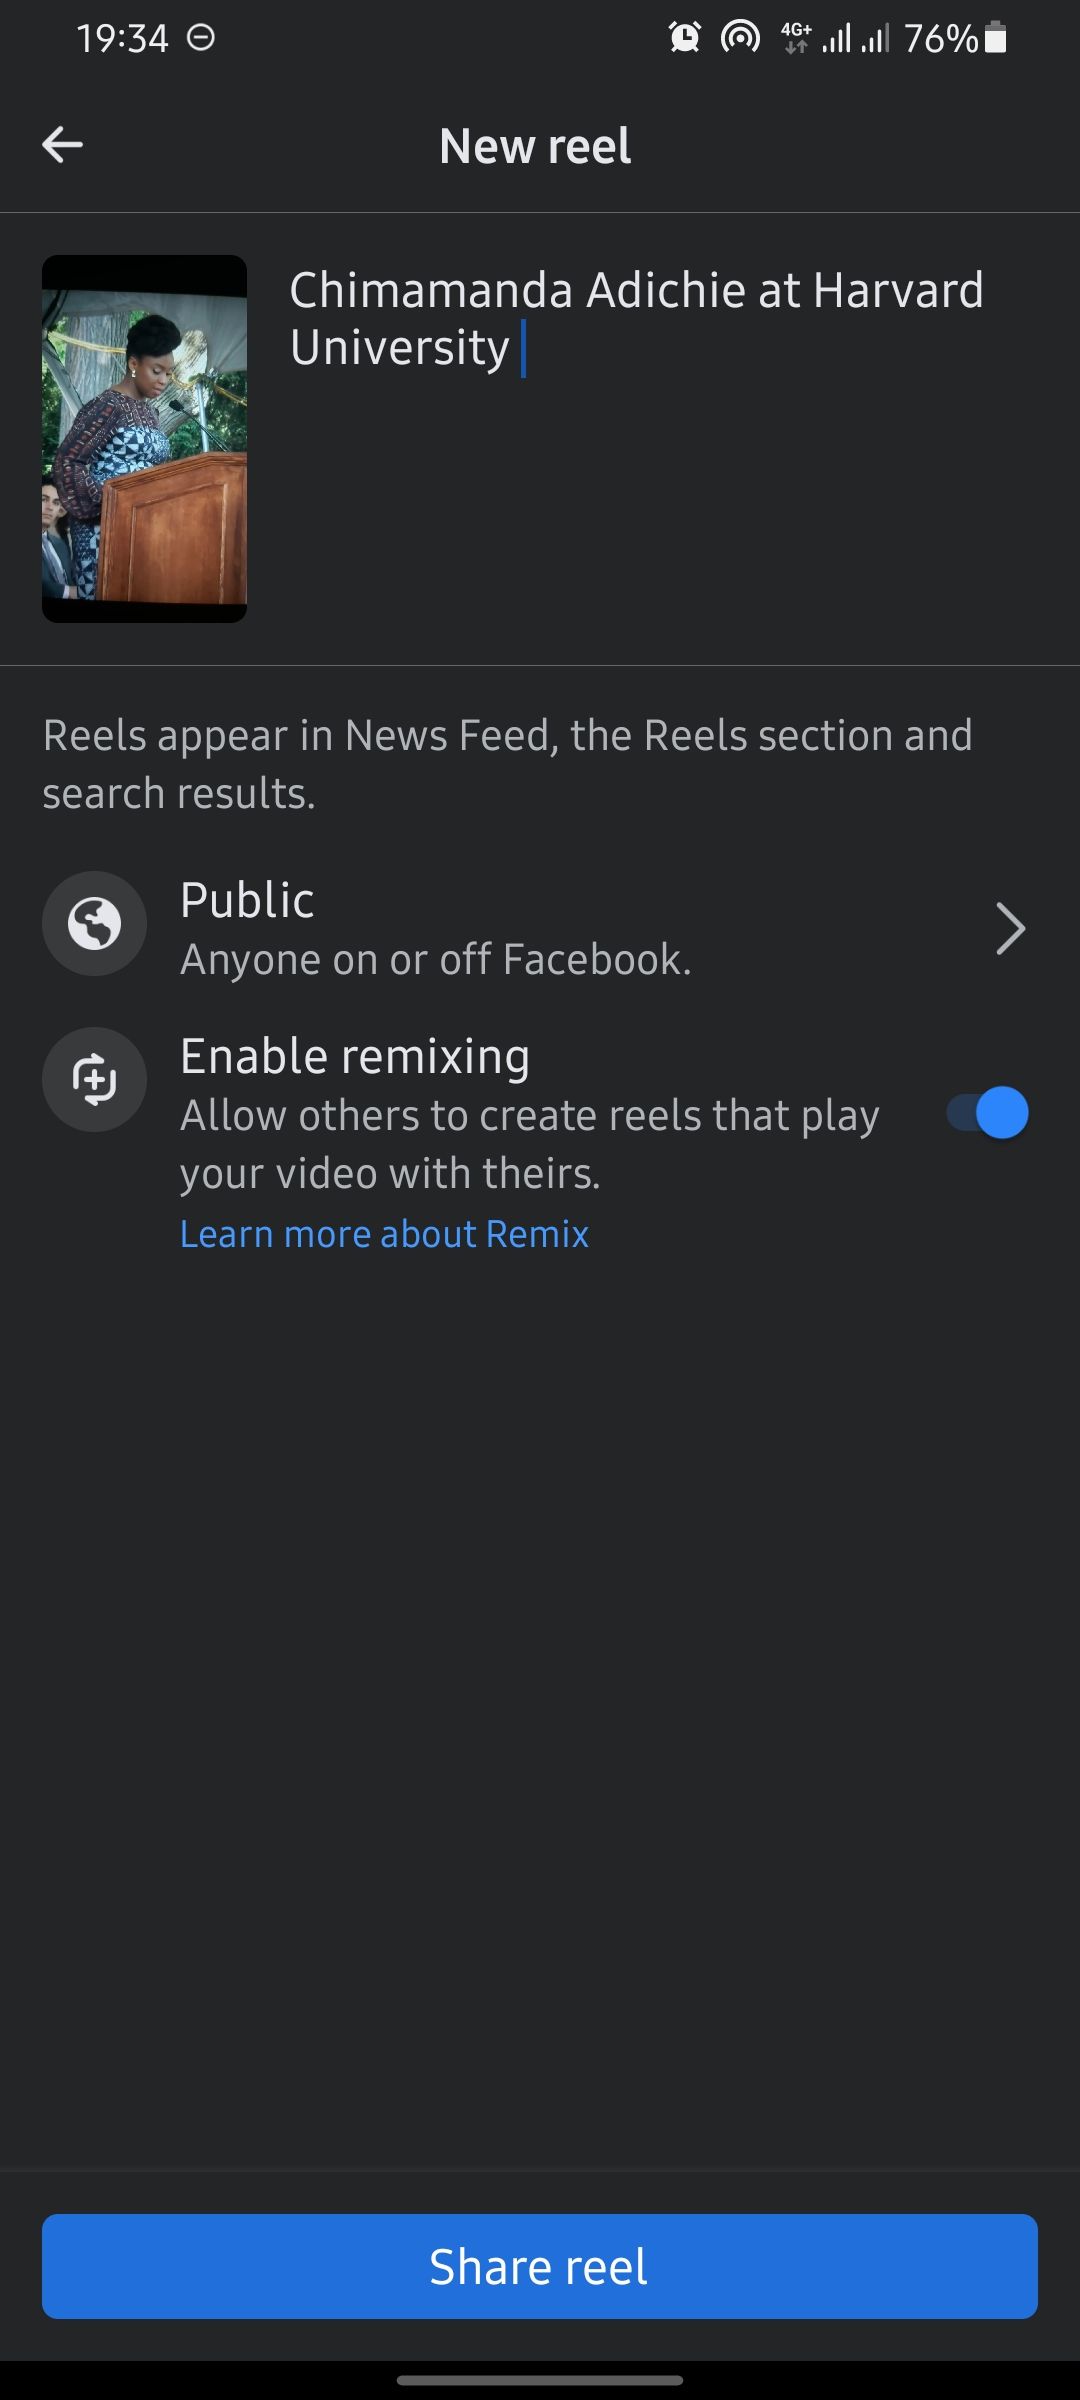
When you’re done, tap on theNext button . You’ll be taken to the Share page. Here, you can add a caption and choose who you want to share your Reel with. You also get to choose whether you want toEnable remixing for your Reels, which means other people can use your video to create their own videos. For more information on the feature, check out our guide on how to use the Remix Feature on Instagram .
Once you’re happy with your settings, tap on theShare reel button to share your video.
Create Your First Facebook Reel
There you have it! Our guide on how to create a Facebook Reel. Now it’s time for you to create your own videos. You can create a Reel that is both creative and polished, making it perfect for sharing on Facebook. And who knows? With a little luck, your Facebook Reel might even go viral.
- Title: The Ultimate Checklist for Producing High-Quality Facebook Reels
- Author: Michael
- Created at : 2024-07-12 10:06:20
- Updated at : 2024-07-13 10:06:20
- Link: https://facebook.techidaily.com/the-ultimate-checklist-for-producing-high-quality-facebook-reels/
- License: This work is licensed under CC BY-NC-SA 4.0.